
0. Terraform をインストールする #
- Install | Terraform | HashiCorp Developer
- https://developer.hashicorp.com/terraform/install
Homebrew でインストールします。
brew tap hashicorp/tap
brew install hashicorp/tap/terraform
terraform コマンドを実行してインストールできたことを確認します。
terraform --version
> Terraform v1.13.1
1. “Hello World” をコンソールに出力する Terraform を書いてみる #
次のようにディレクトリとファイルを作成します。
my_hello_print_terraform/
└ hello.tf
hello.tf
resource "terraform_data" "this" {
  provisioner "local-exec" {
    command = "echo 'Hello World'"
  }
}
ファイルが用意できたらまずは terraform init を実行します。
補足:これは定義ファイルを読み込み、必要な外部モジュールをダウンロードしたりするコマンドです。しかし、今回は外部モジュールを使っていないので、特に何もダウンロードされません。そのため今回に関しては実施しなくても問題はありませんが、通常は最初に実行するコマンドです。
terraform init

> Initializing the backend...
> Initializing provider plugins...
> - terraform.io/builtin/terraform is built in to Terraform
>
> Terraform has been successfully initialized!
>
> You may now begin working with Terraform. Try running "terraform plan" to see
> any changes that are required for your infrastructure. All Terraform commands
> should now work.
>
> If you ever set or change modules or backend configuration for Terraform,
> rerun this command to reinitialize your working directory. If you forget, other
> commands will detect it and remind you to do so if necessary.
次に terraform plan を実行します。このコマンドは、実際にリソースを作成したり変更したりする前に、どのような変更が行われるかを確認するためのコマンドです。ドライランコマンドにあたるものです。
terraform plan

> Terraform used the selected providers to generate the following execution plan. Resource actions are indicated with the following symbols:
>   + create
>
> Terraform will perform the following actions:
>
>   # terraform_data.this will be created
>   + resource "terraform_data" "this" {
>       + id = (known after apply)
>     }
>
> Plan: 1 to add, 0 to change, 0 to destroy.
次に terraform apply を実行します。このコマンドを実行することで、実際にリソースが作成または変更されます。
コマンドを実行すると、実行の確認が求められます。yes と入力して実行を続行します。
terraform apply

> Terraform used the selected providers to generate the following execution plan. Resource actions are indicated with the following symbols:
>   + create
>
> Terraform will perform the following actions:
>
>   # terraform_data.this will be created
>   + resource "terraform_data" "this" {
>       + id = (known after apply)
>     }
>
> Plan: 1 to add, 0 to change, 0 to destroy.
>
> Do you want to perform these actions?
>   Terraform will perform the actions described above.
>   Only 'yes' will be accepted to approve.
>
>   Enter a value: yes
>
> terraform_data.this: Creating...
> terraform_data.this: Provisioning with 'local-exec'...
> terraform_data.this (local-exec): Executing: ["/bin/sh" "-c" "echo 'Hello World'"]
> terraform_data.this (local-exec): Hello World
> terraform_data.this: Creation complete after 0s [id=c96c9620-1b49-8b79-235b-95edae9265c7]
実行結果を見ると、Hello World と出力されていることがわかります。
また、terraform.tfstate というファイルが作成されていることがわかります。このファイルは、Terraform が管理しているリソースの状態を保存するためのファイルです。
my_hello_print_terraform/
├ hello.tf
└ terraform.tfstate
その後、再度 terraform plan と terraform apply を実行してみます。今回は何も変更がないため、変更がない旨のメッセージが表示され、何も実行されないことがわかります。
terraform plan

> terraform_data.this: Refreshing state... [id=c96c9620-1b49-8b79-235b-95edae9265c7]
>
> No changes. Your infrastructure matches the configuration.
>
> Terraform has compared your real infrastructure against your configuration and found no differences, so no changes are needed.
terraform apply

> terraform_data.this: Refreshing state... [id=c96c9620-1b49-8b79-235b-95edae9265c7]
>
> No changes. Your infrastructure matches the configuration.
>
> Terraform has compared your real infrastructure against your configuration and found no differences, so no changes are needed.
>
> Apply complete! Resources: 0 added, 0 changed, 0 destroyed.
補足 #
リソース定義の内容は以下の通りでした。
resource "terraform_data" "this" {
  provisioner "local-exec" {
    command = "echo 'Hello World'"
  }
}
resourceは、Terraform が管理するリソースを定義するためのブロック宣言です。terraform_dataはリソースの種類を示します。terraform_dataという種類のリソースを作成することを示しています。thisはリソースの名前を示します。今回作成するterraform_dataに対してthisという名前を付けています。this自体に特別な文法的意味はありません。self、main、defaultあるいはfoo、bar、bazなど、任意の名前を付けることができます。- 慣例的に、単一のリソースを定義する場合は
thisとすることが多いです。
- ブロックの中には、リソースの設定を記述します。どのように定義を書くかはリソースの種類によって異なります。
terraform_data にあたる部分は各プロバイダが事前に用意しているリソースの種類を指定します。今回は terraform_data というビルドインのリソースを使用しましたが、他にも様々なリソースが用意されています。
https://developer.hashicorp.com/terraform/language/resources/terraform-data
2. “Hello World” と書かれたファイルを作成する Terraform を書いてみる #
次のようにディレクトリとファイルを作成します。
my_hello_file_terraform/
└ hello.tf
hello.tf
resource "local_file" "this" {
  filename = "${path.module}/my_hello_file.txt"
  content  = "Hello World!"
}
terraform init します。
terraform init
実行が完了すると次のようにディレクトリとファイルが作成されています。
my_hello_file_terraform/
├ .terraform/
├ .terraform.lock.hcl
└ hello.tf
その後、terraform plan および terraform apply を実行します。
terraform plan
terraform apply
実行が完了すると次のようにディレクトリとファイルが作成されています。
my_hello_file_terraform/
├ .terraform/
├ .terraform.lock.hcl
├ hello.tf
├ my_hello_file.txt
└ terraform.tfstate
my_hello_file.txt というファイルが作成され、その中に Hello World! と書かれていることがわかります。
補足 #
今回は local_file というリソースを使用しました。local_file はローカルファイルを作成するためのリソースです。
https://registry.terraform.io/providers/hashicorp/local/latest/docs/resources/file
3. EC2 インスタンスを作成する Terraform を書いてみる #
最初に AWS CLI をインストールします。
brew install awscli
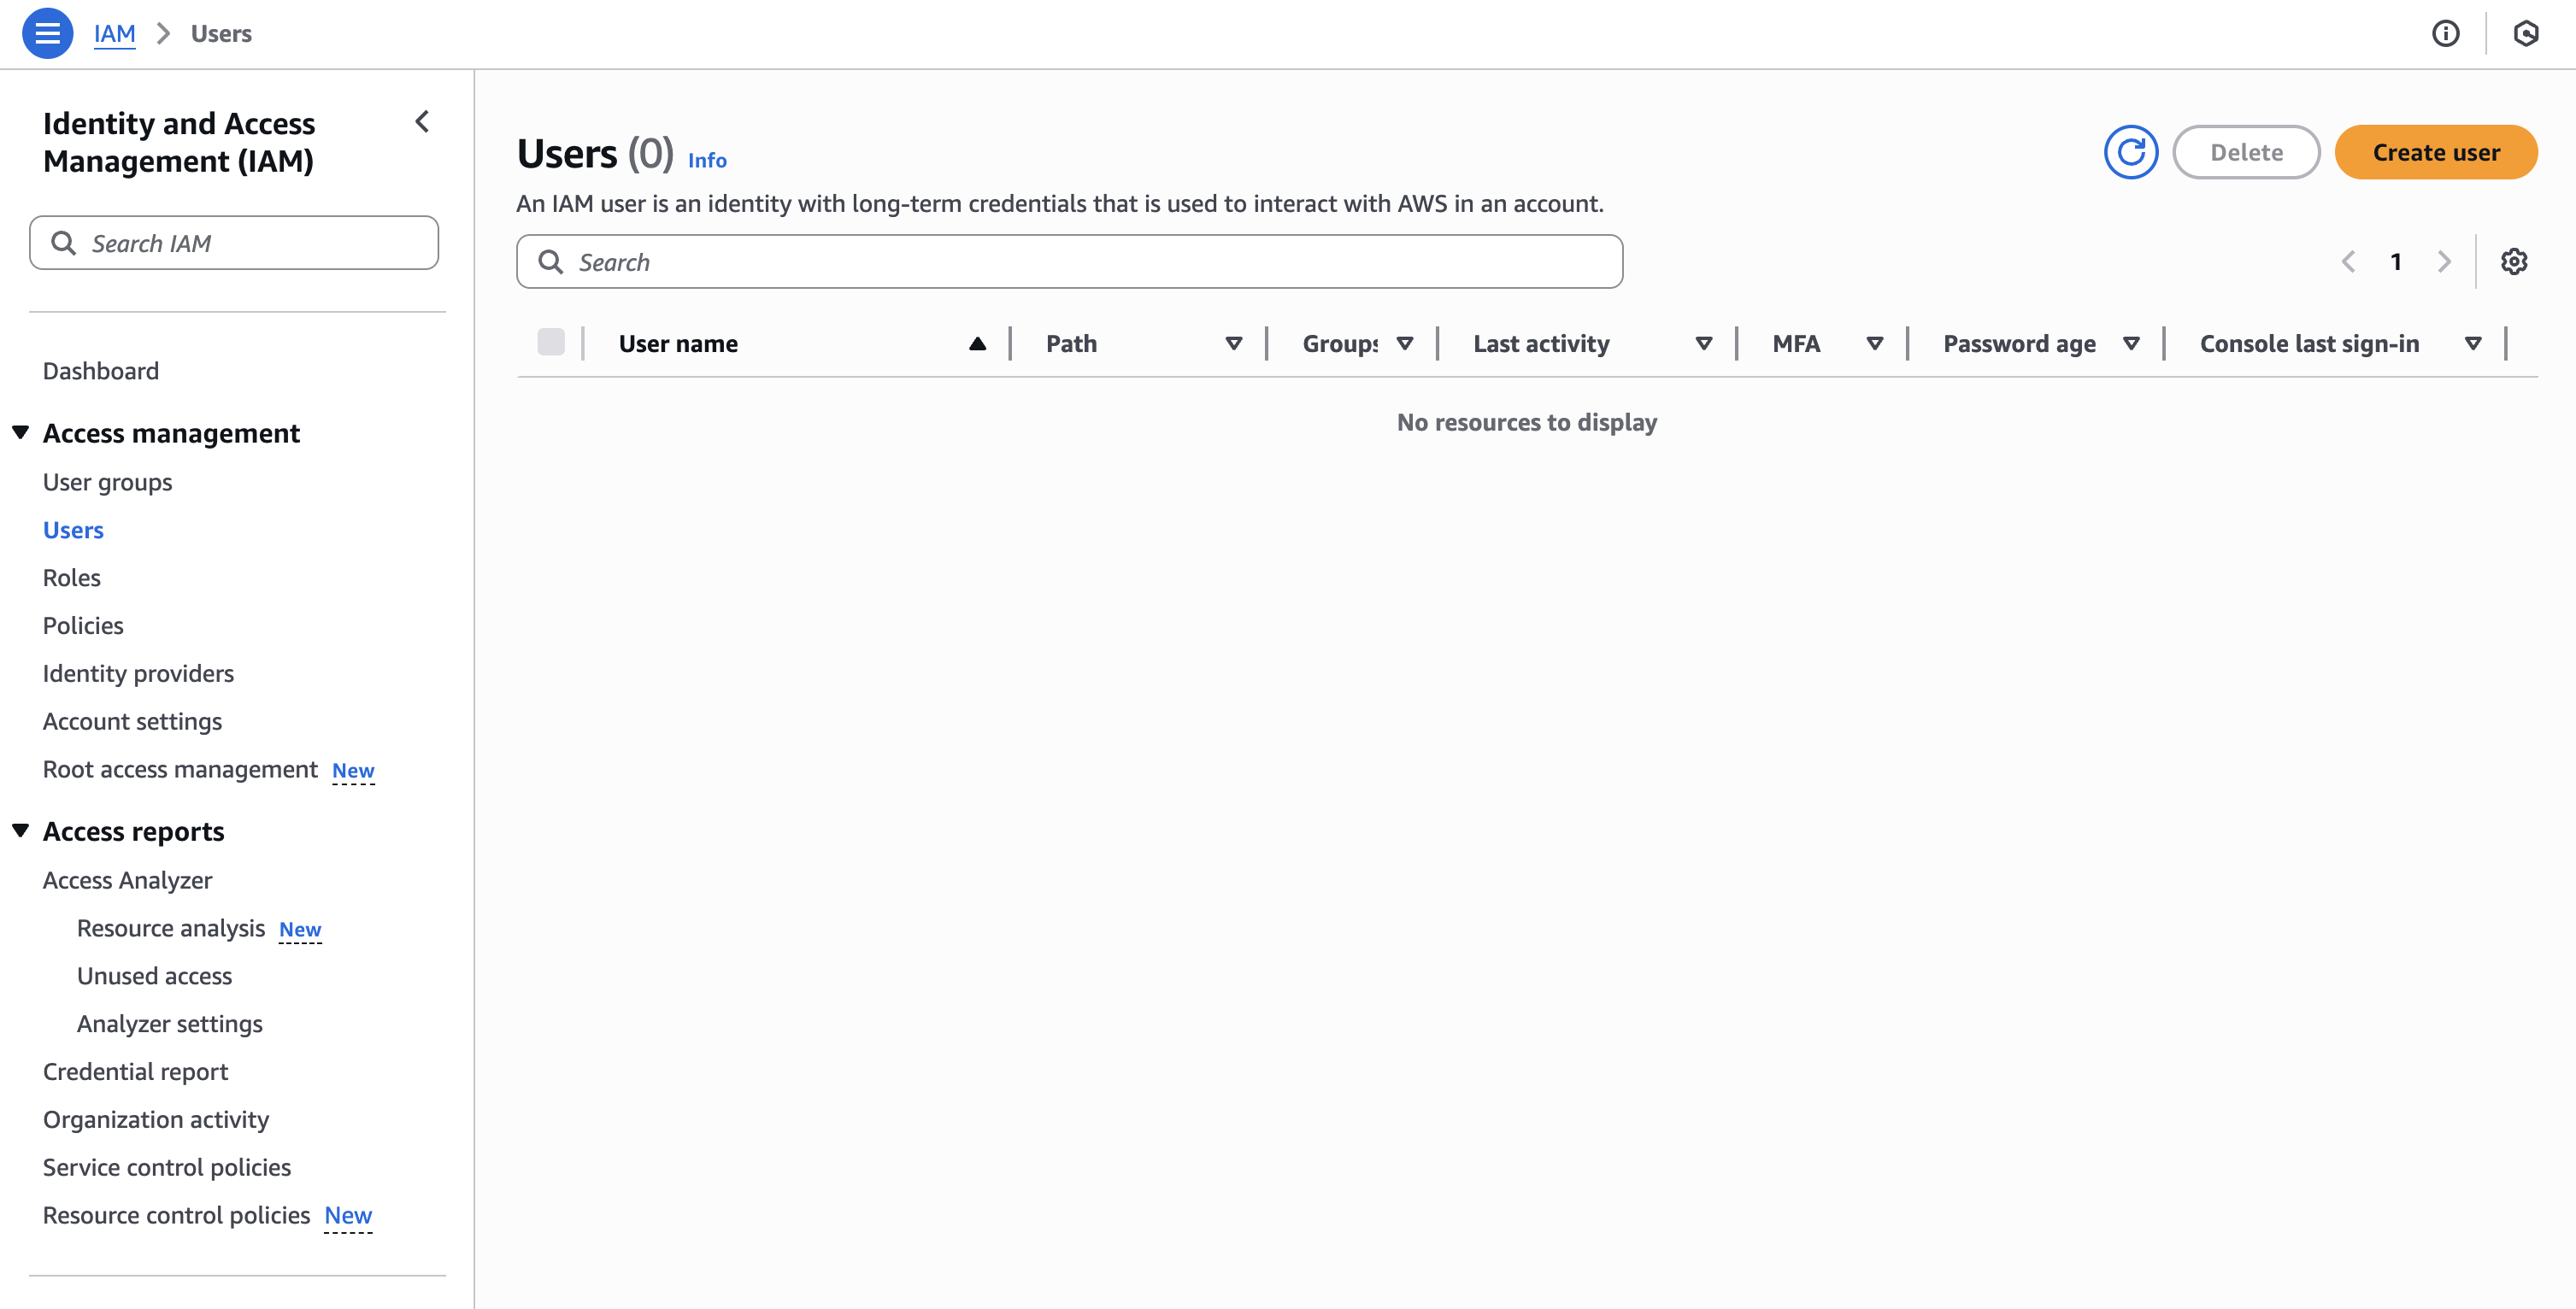
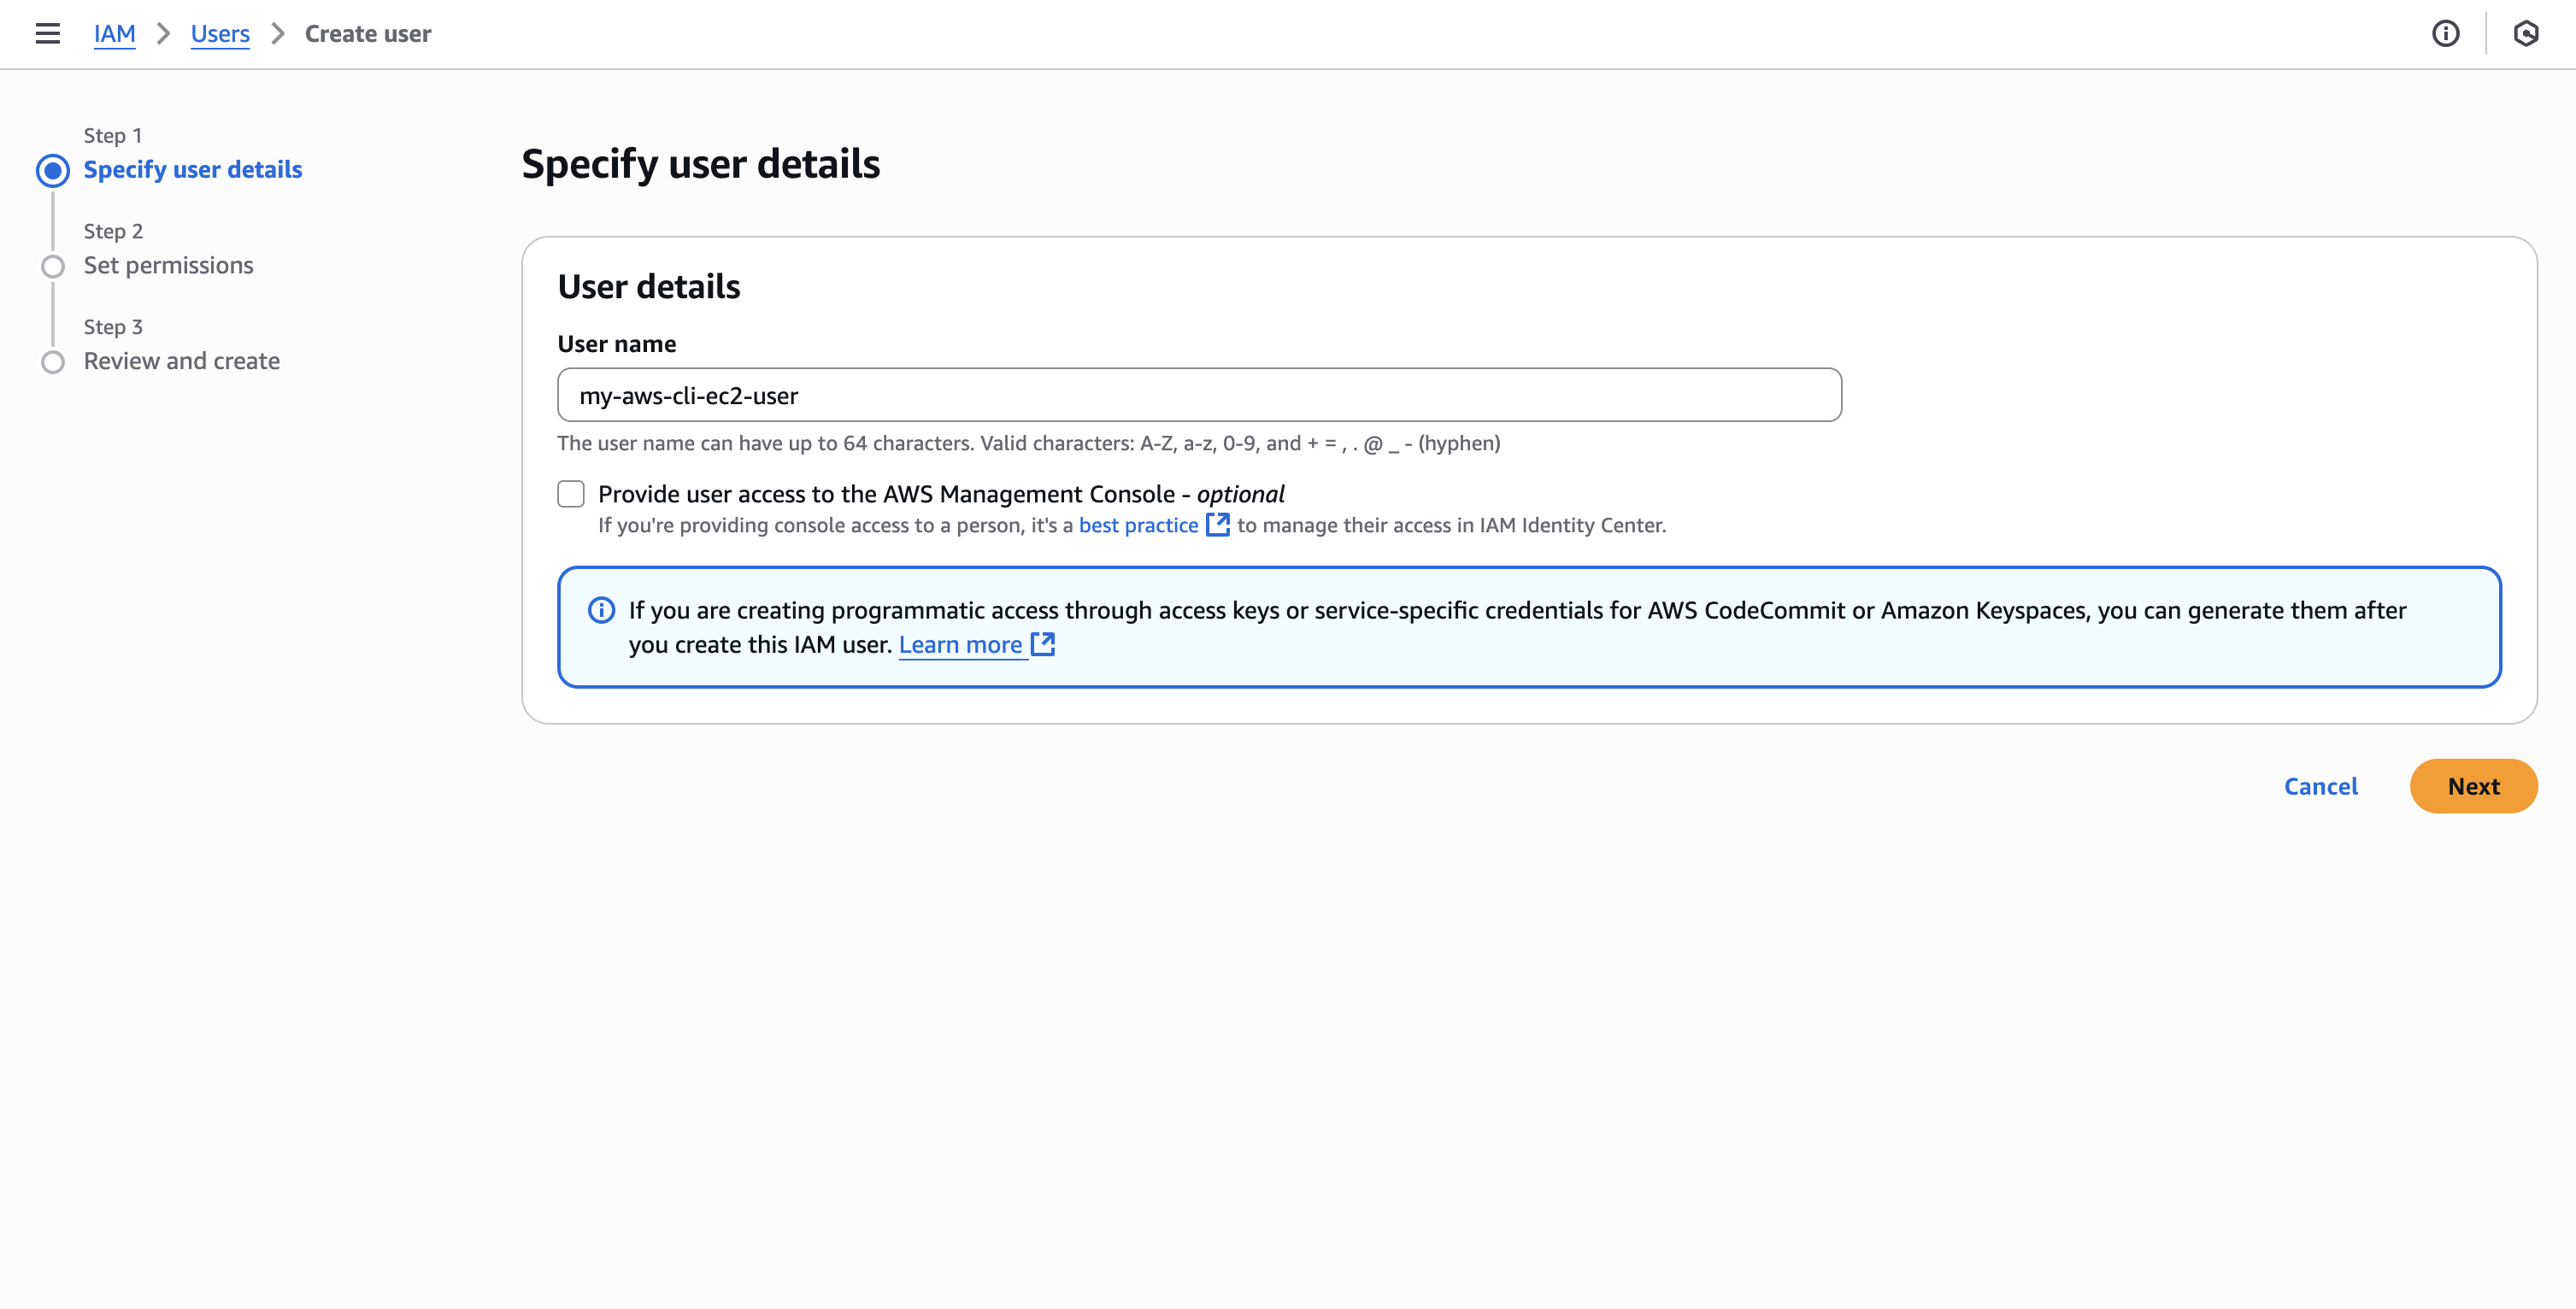
次に AWS CLI で使用するユーザを作成します。
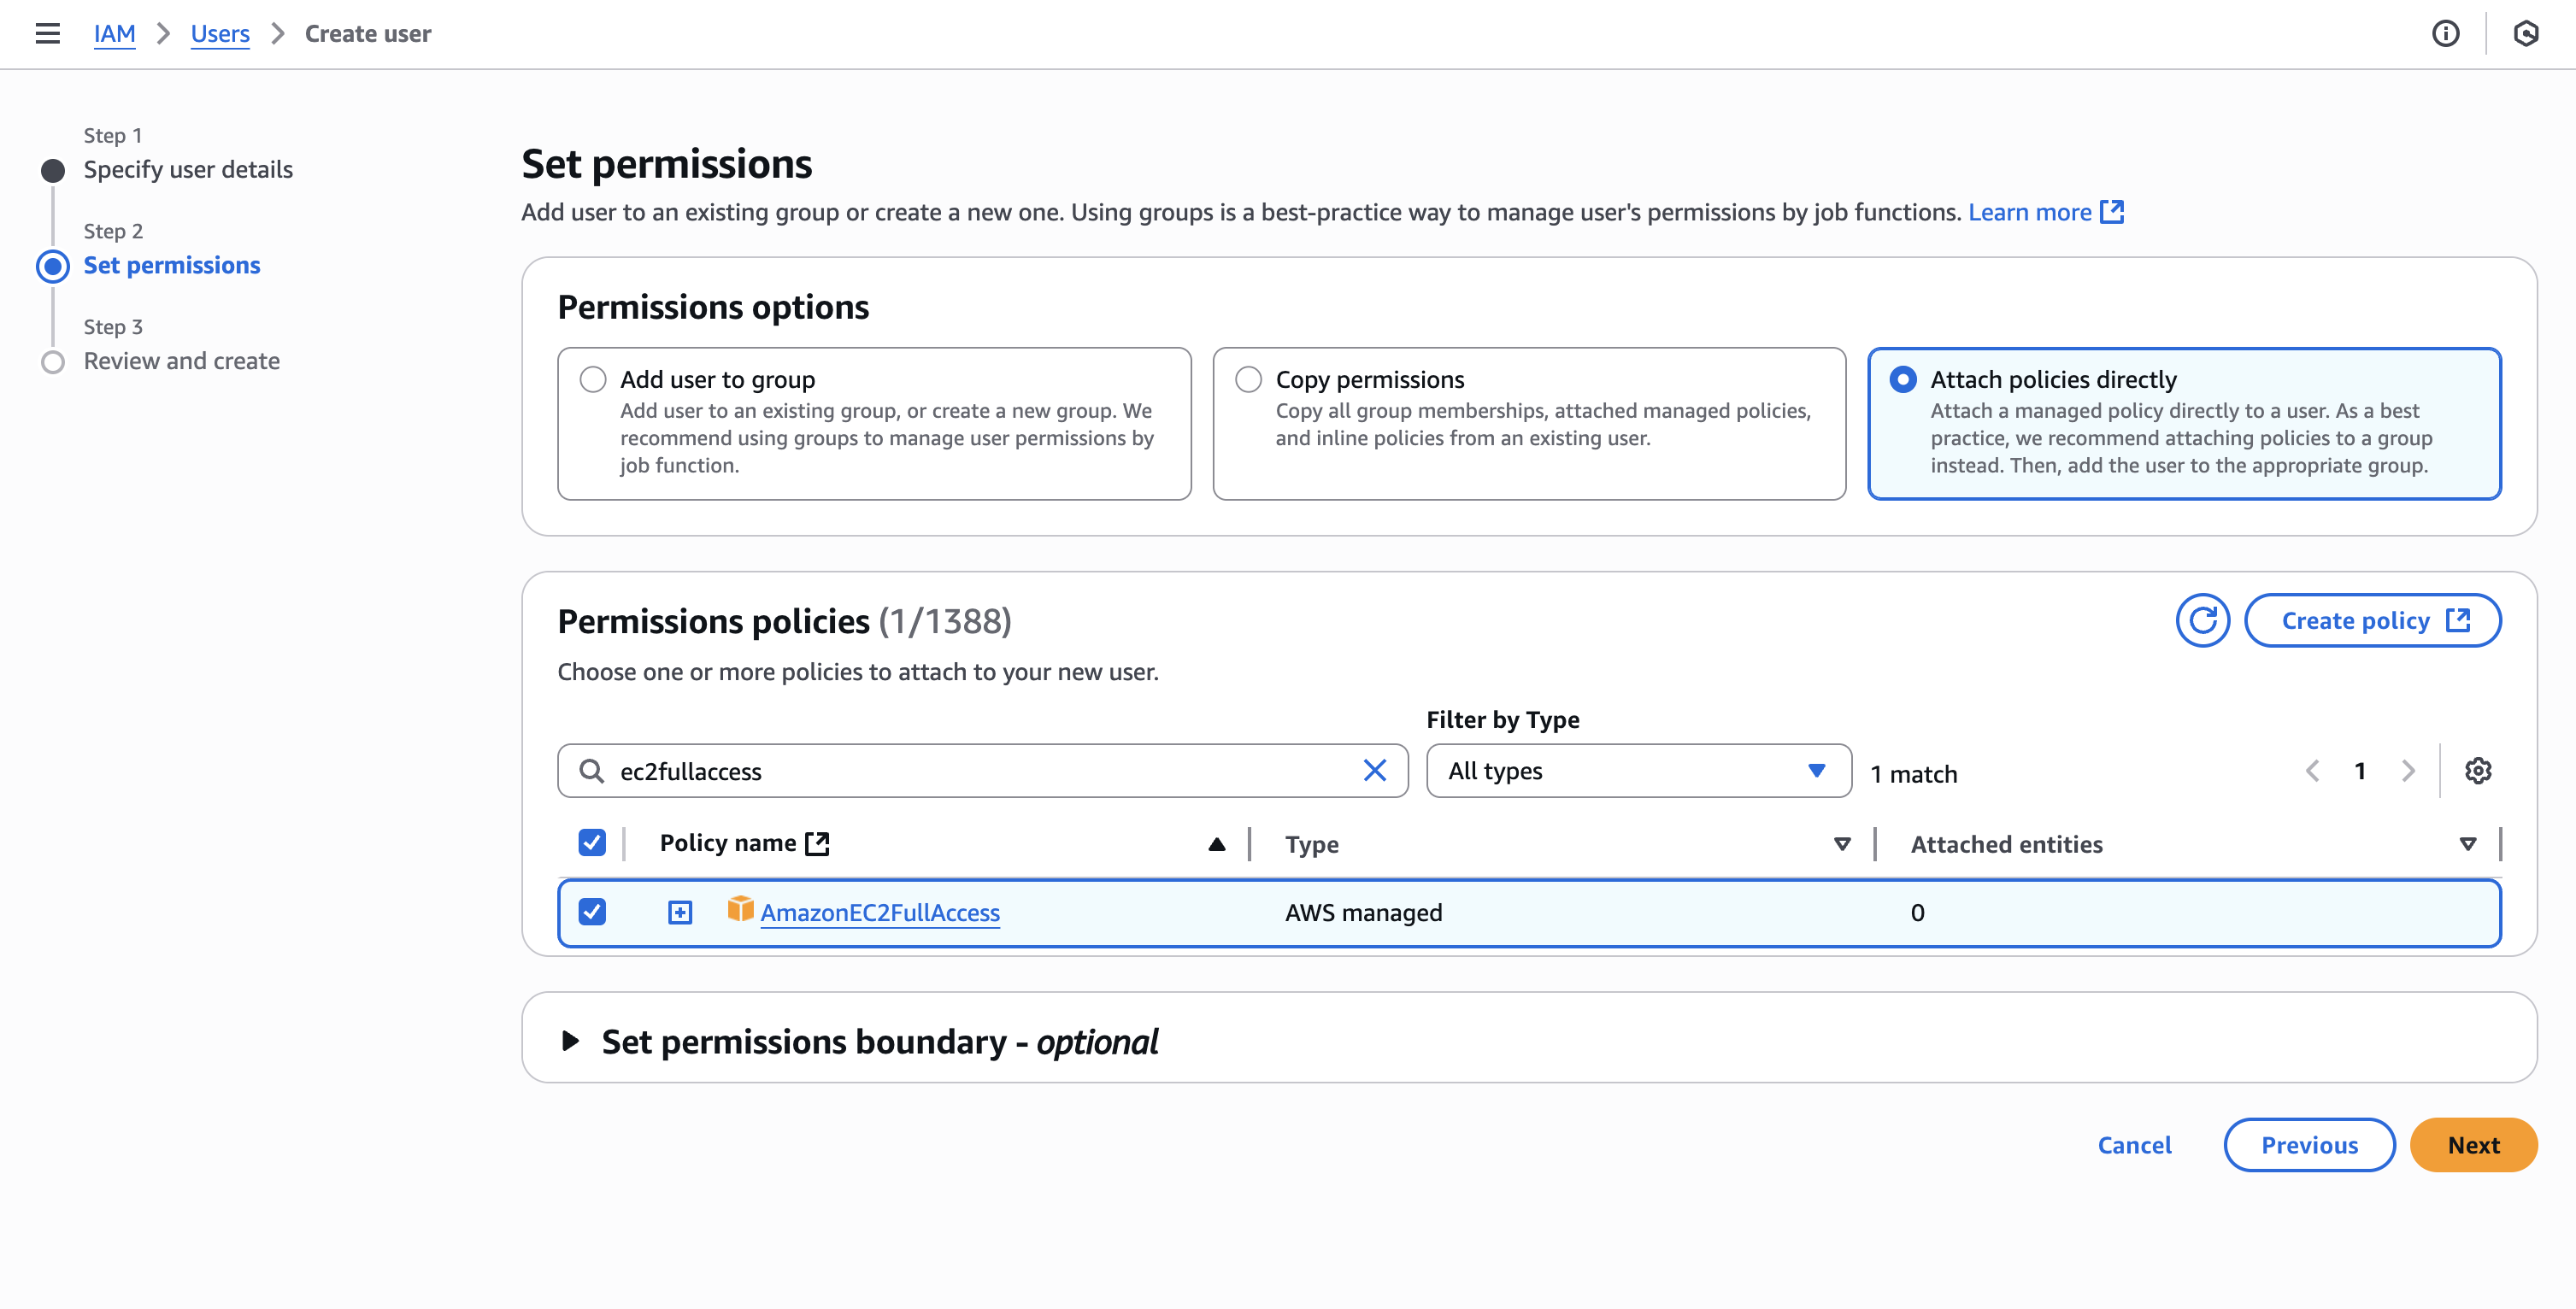
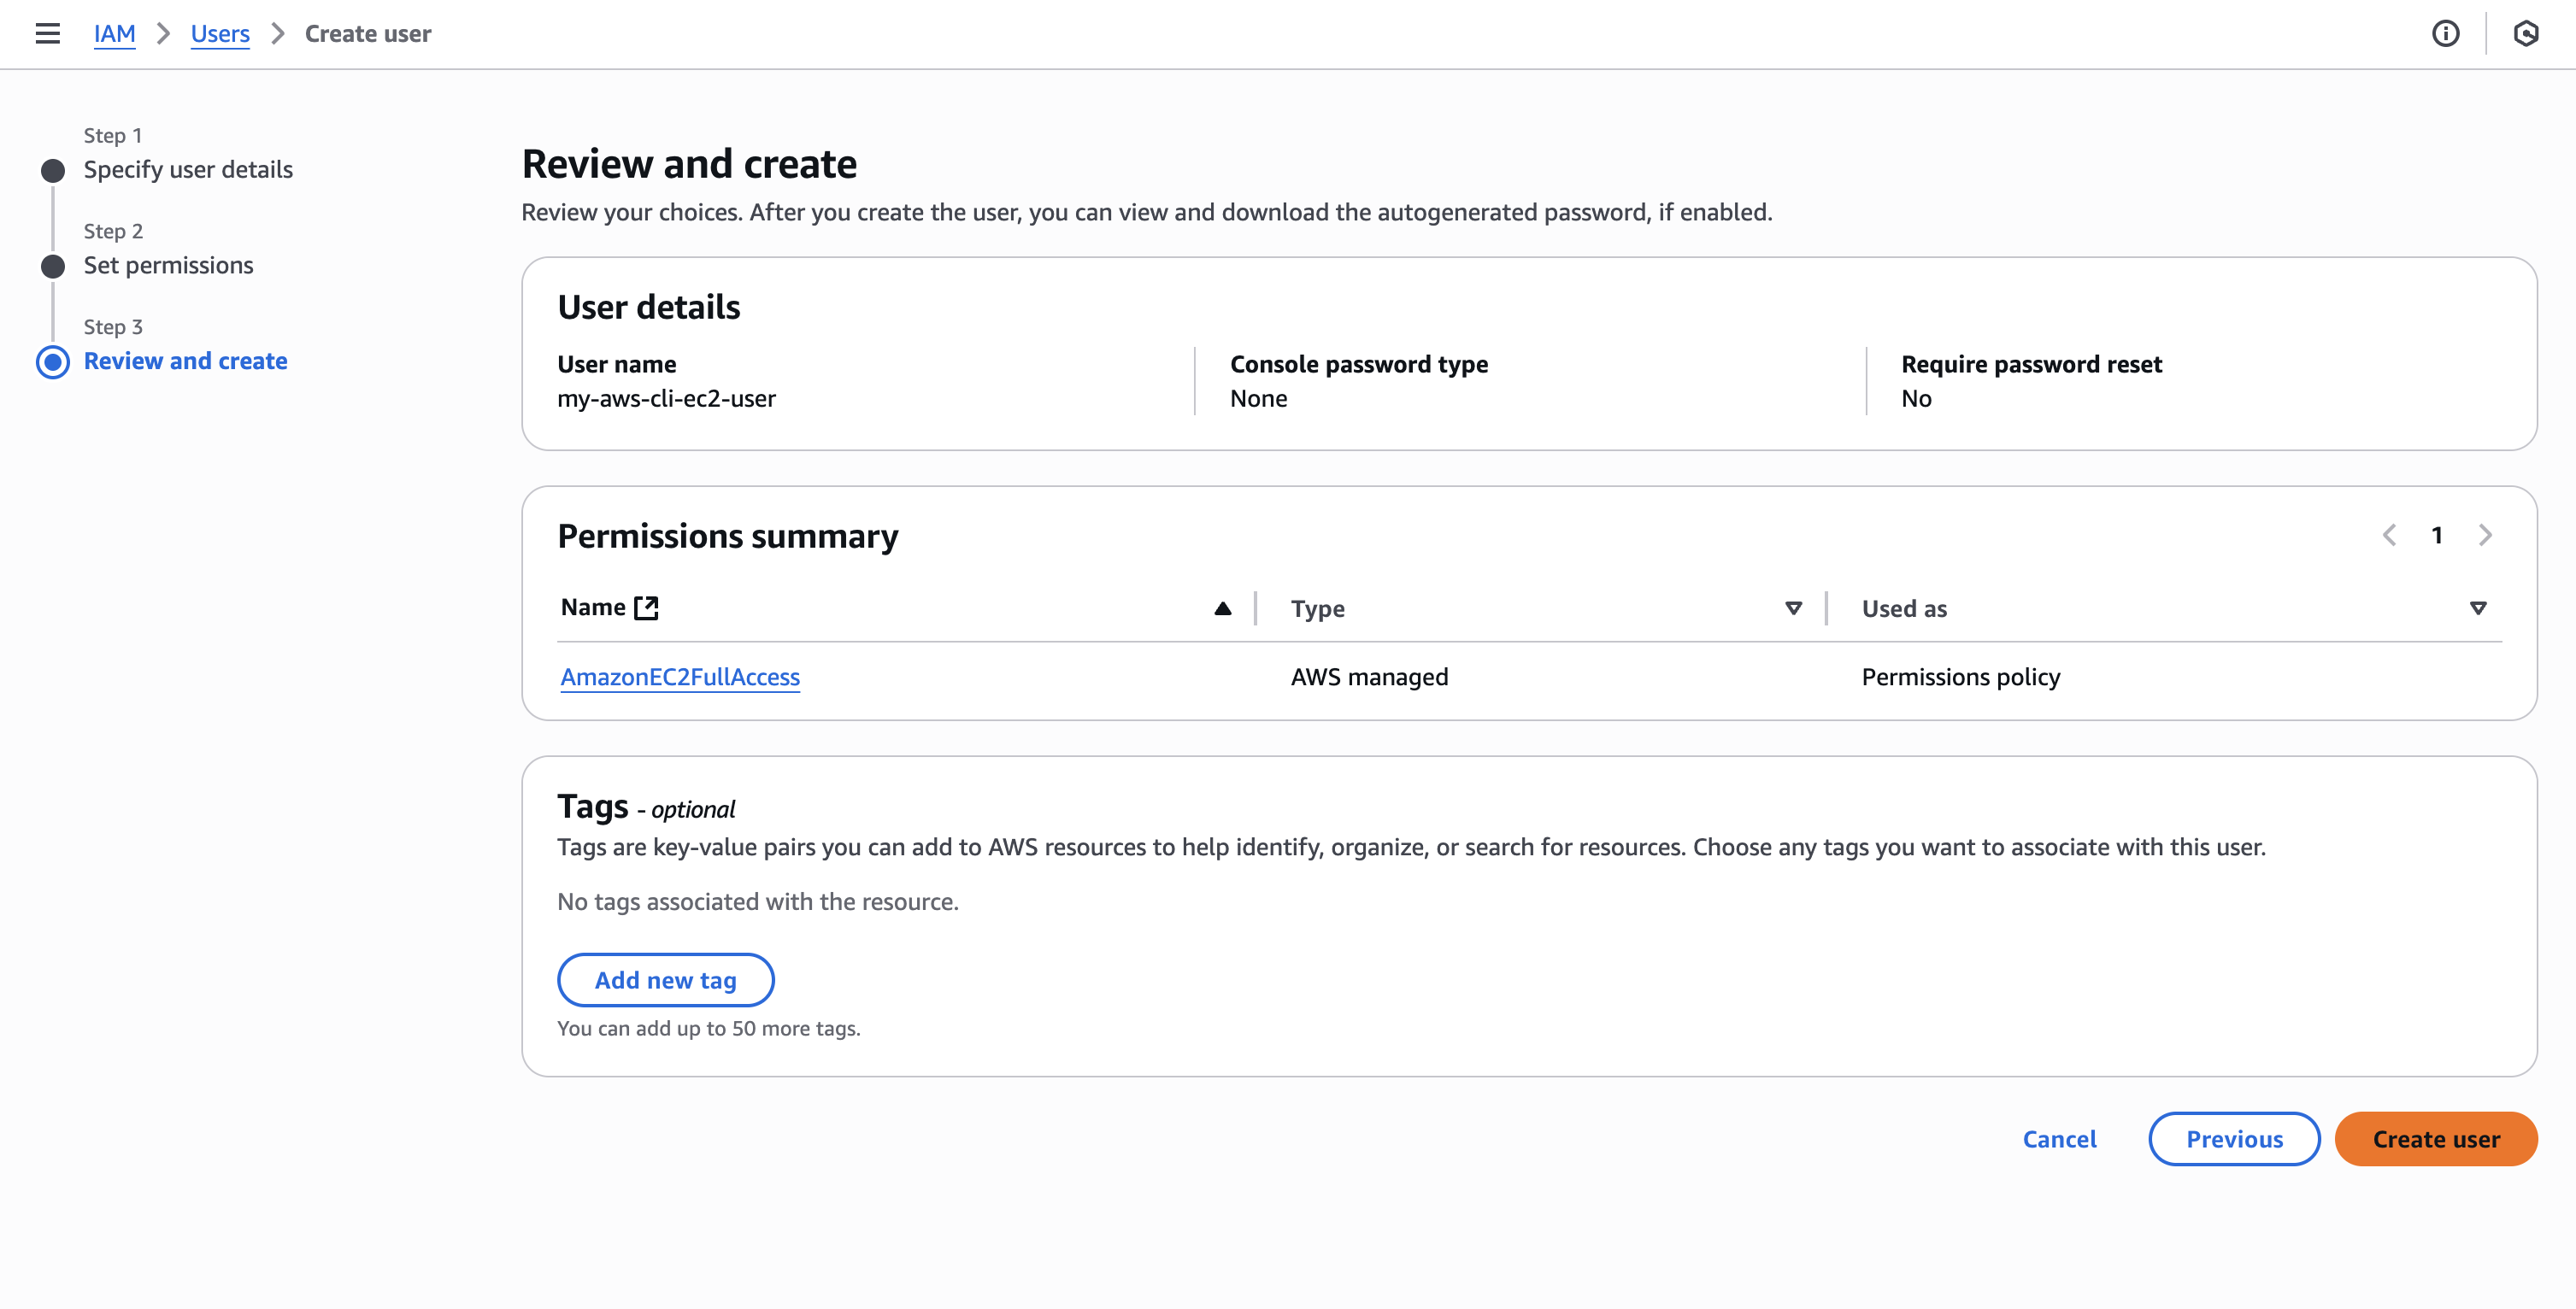
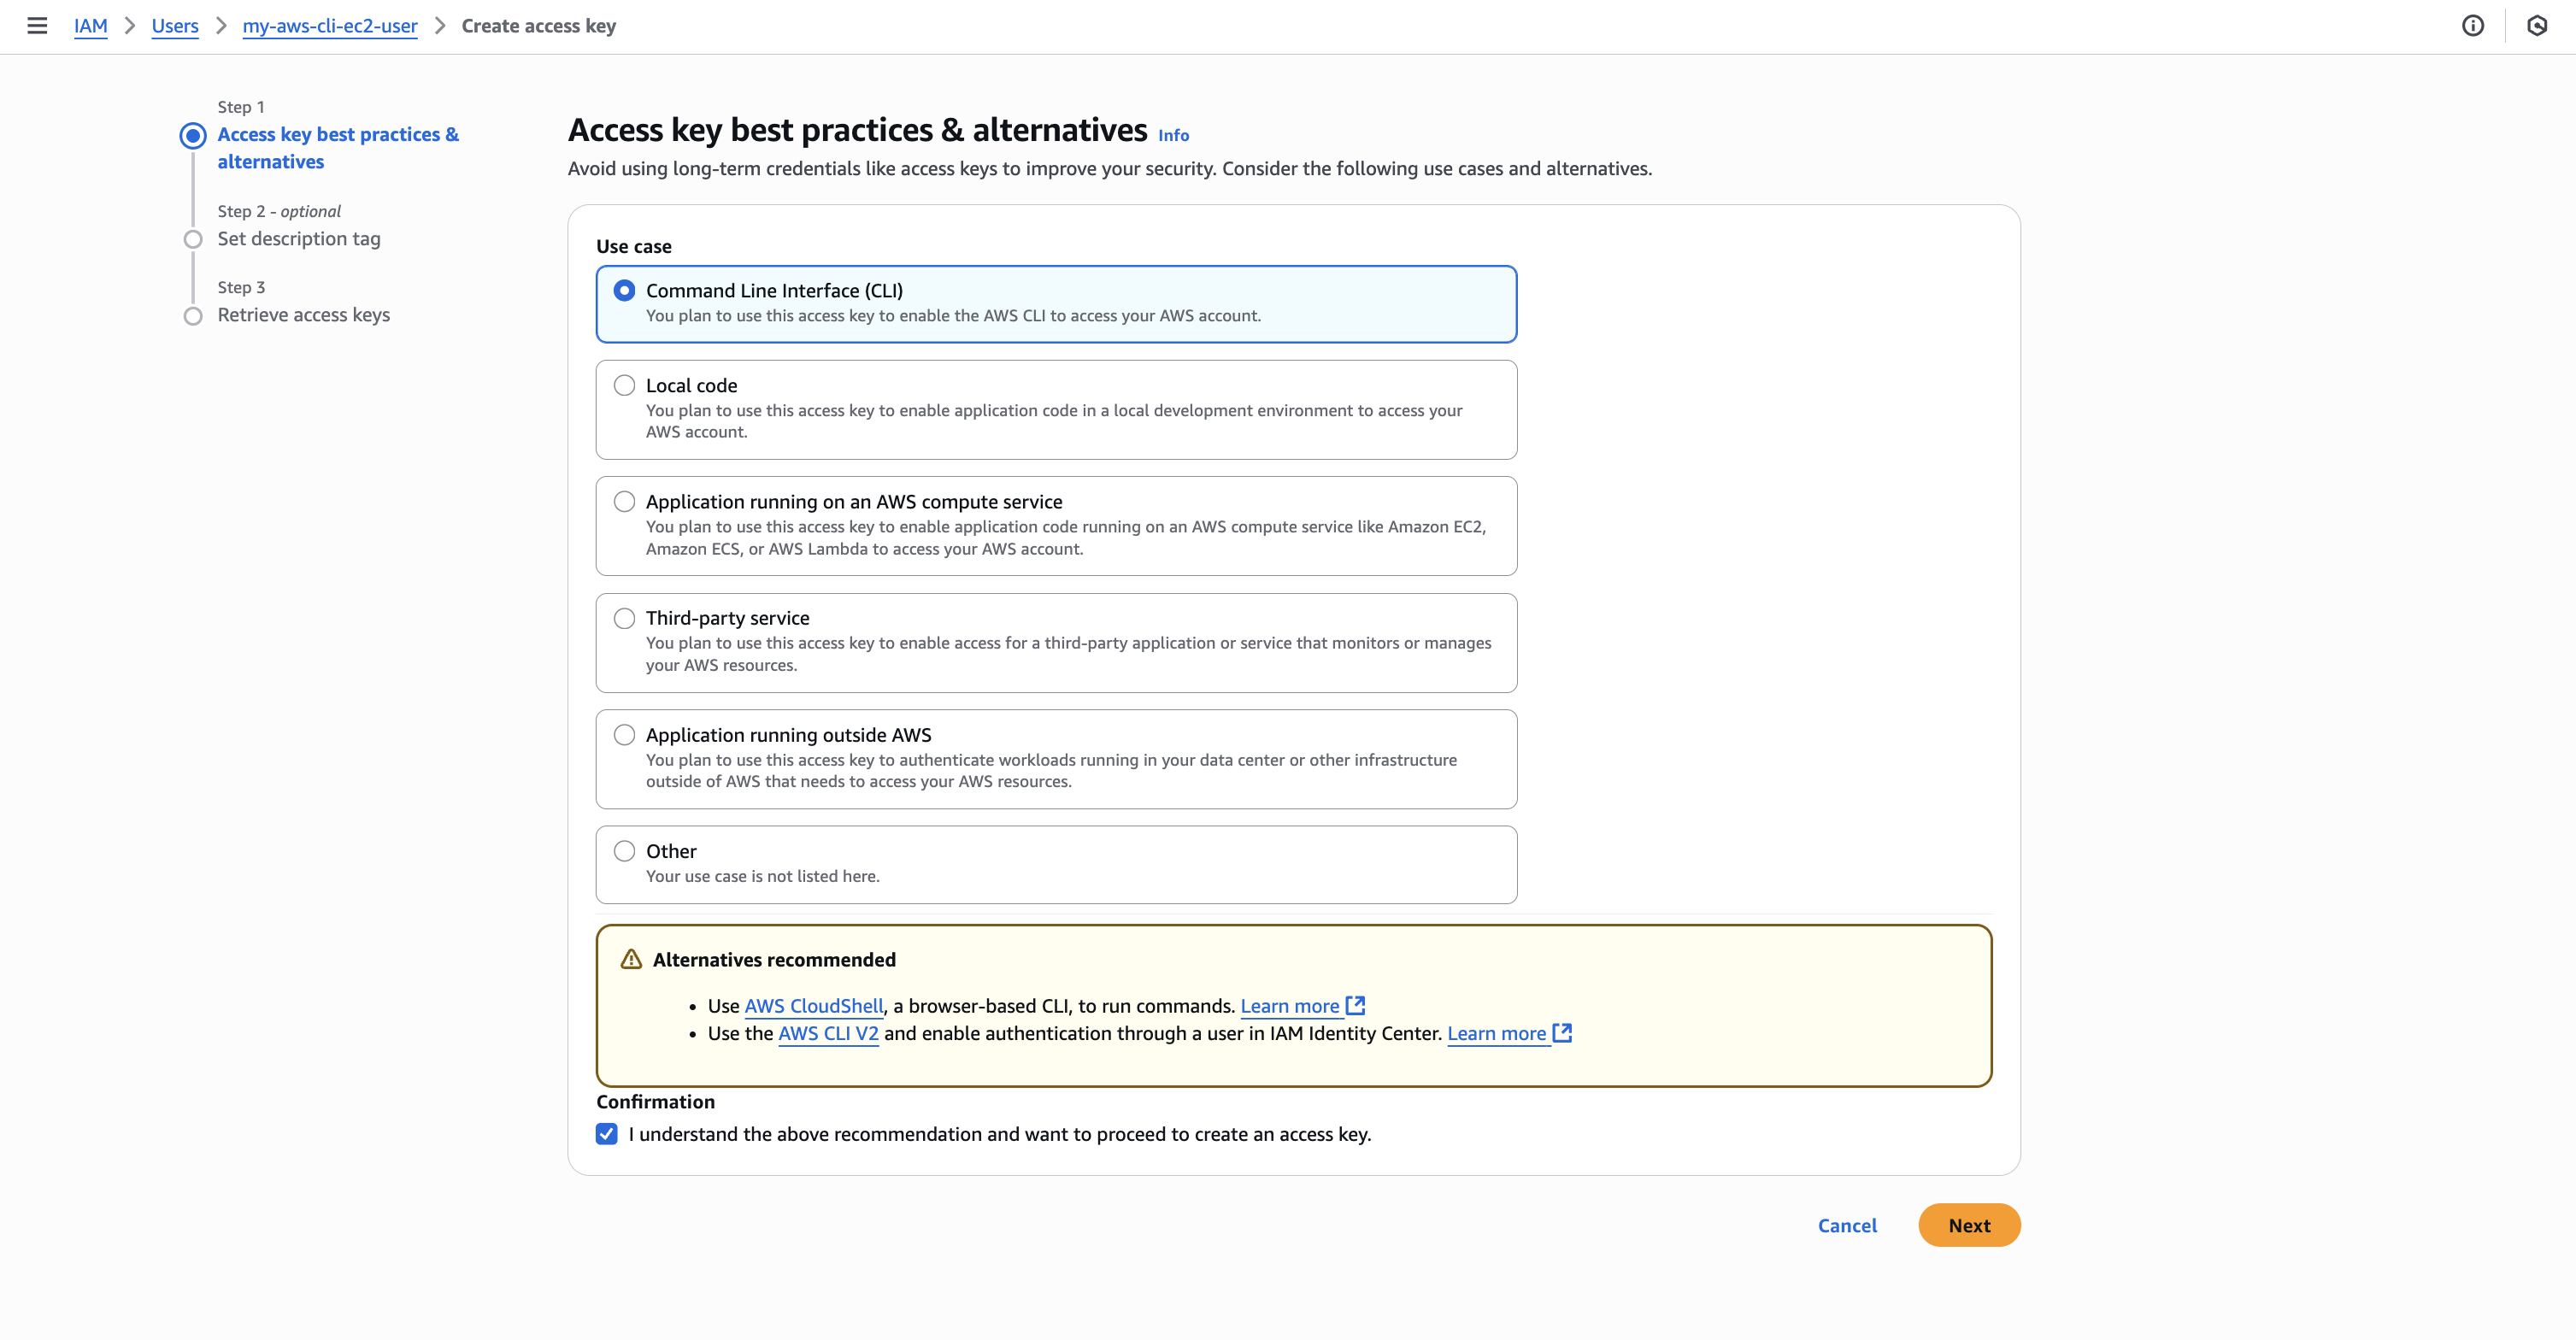
AWS コンソールから IAM でユーザを作成し、 適切な権限を付与した後、アクセスキーを発行します。
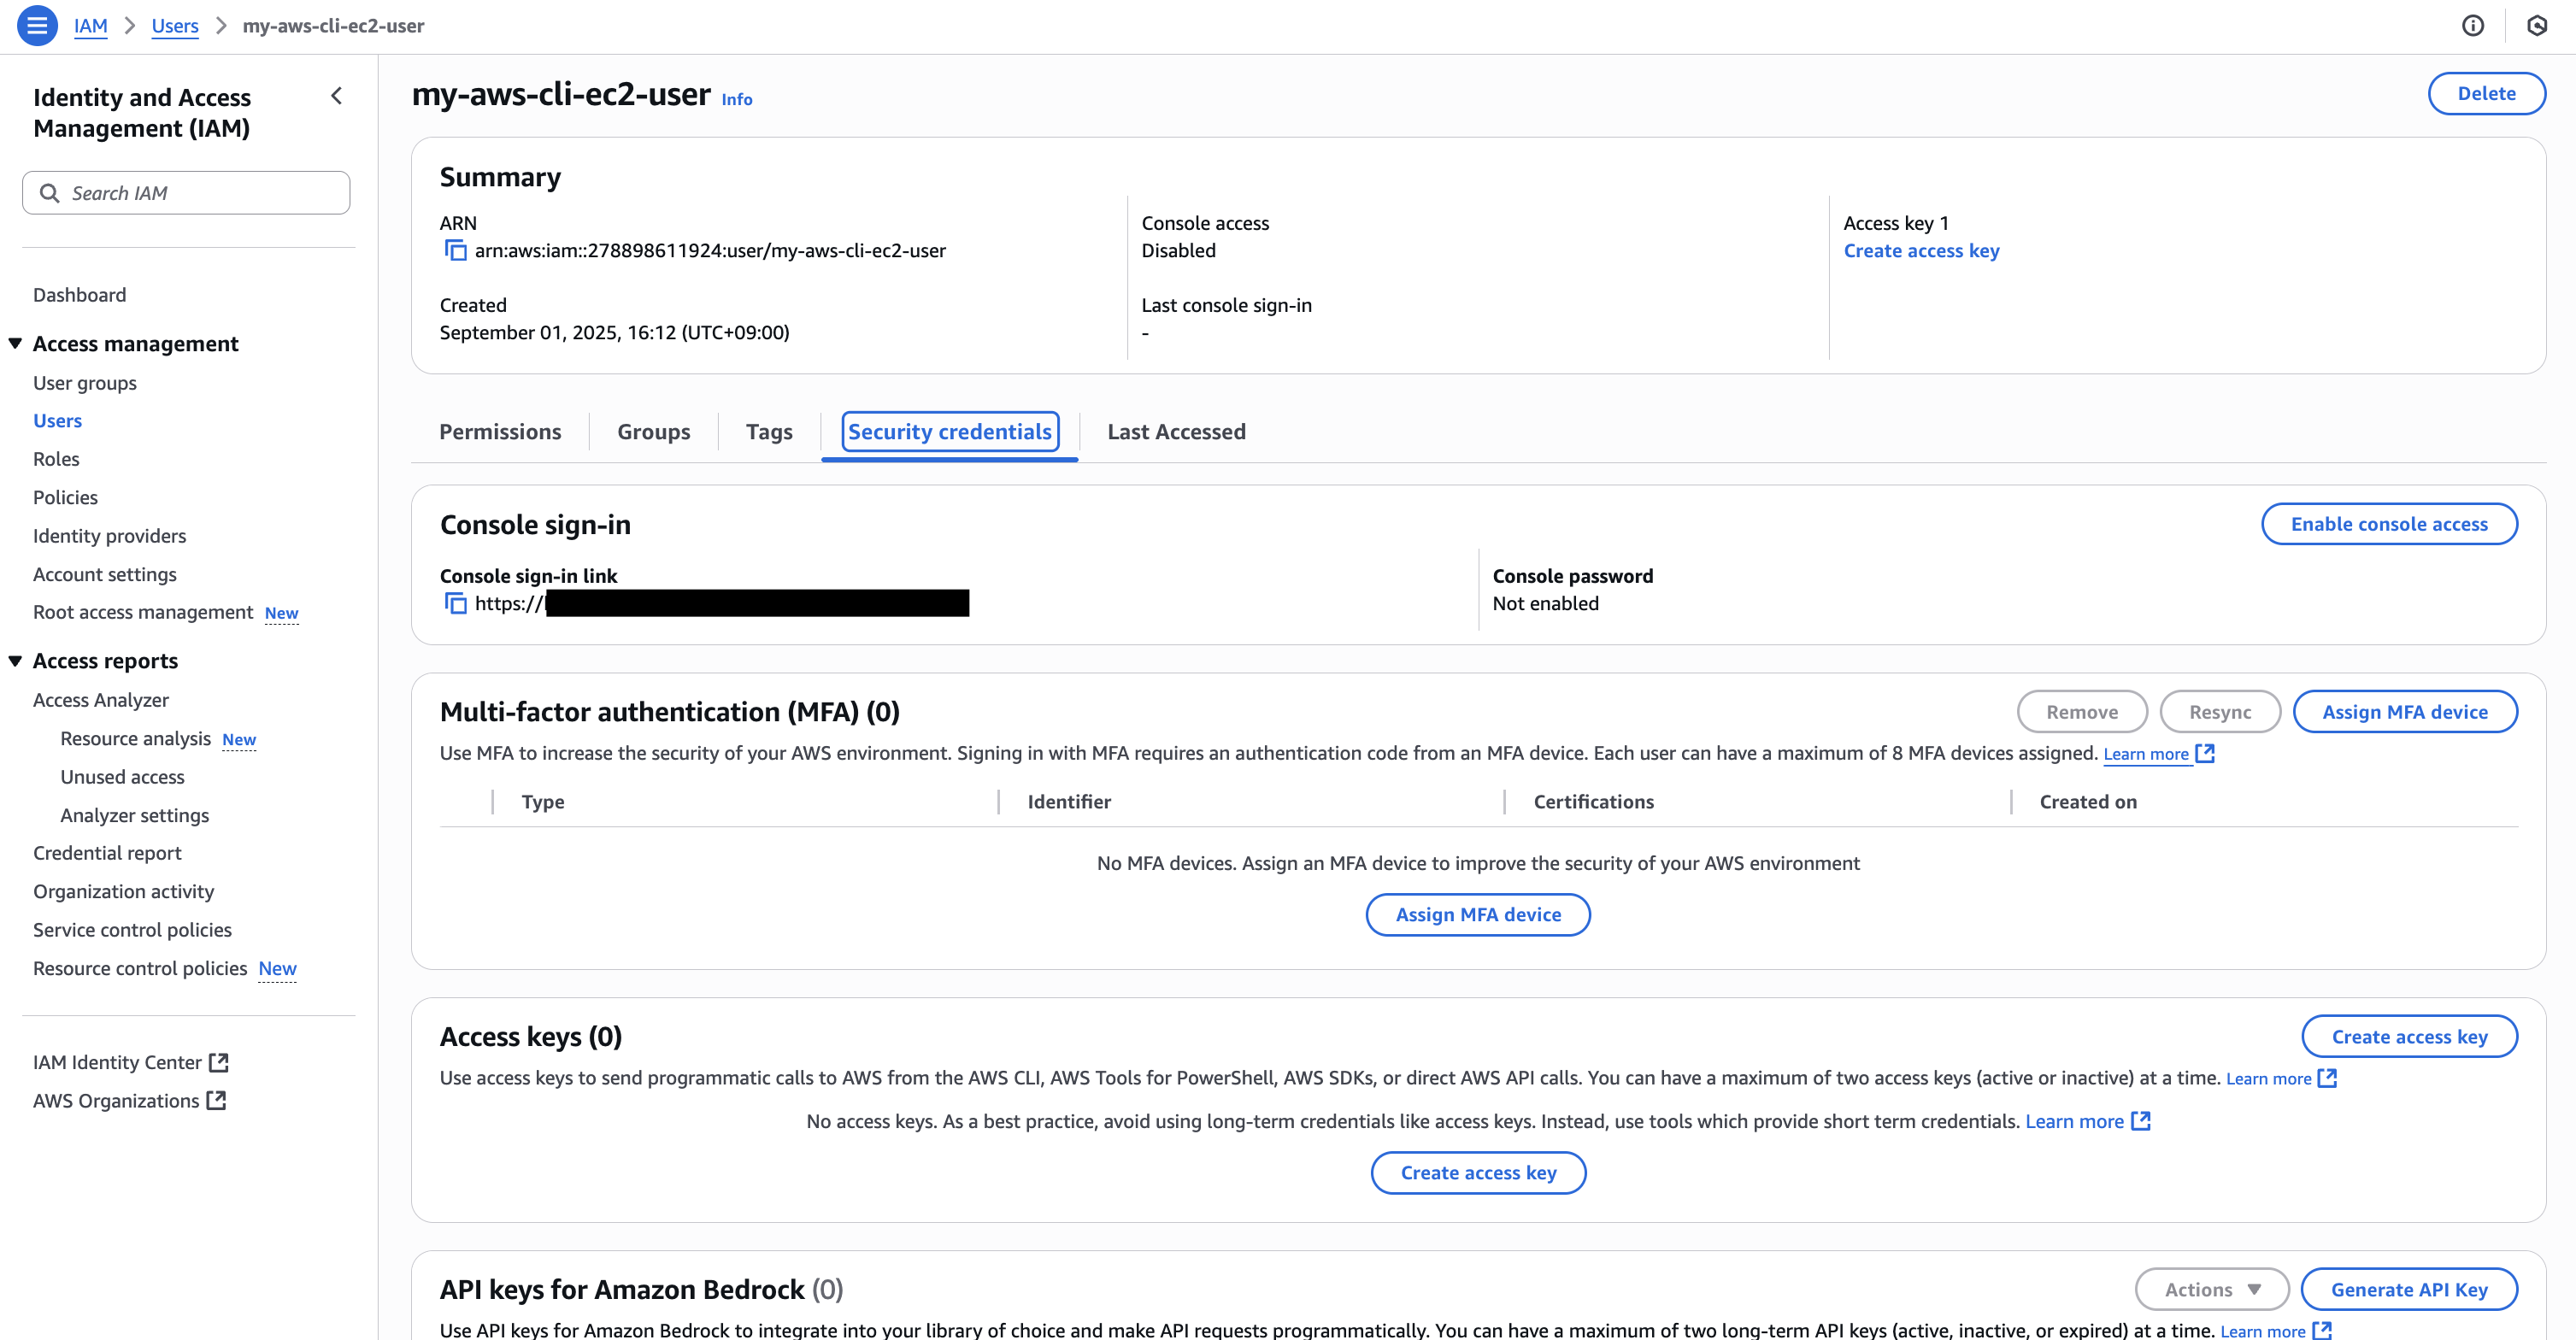
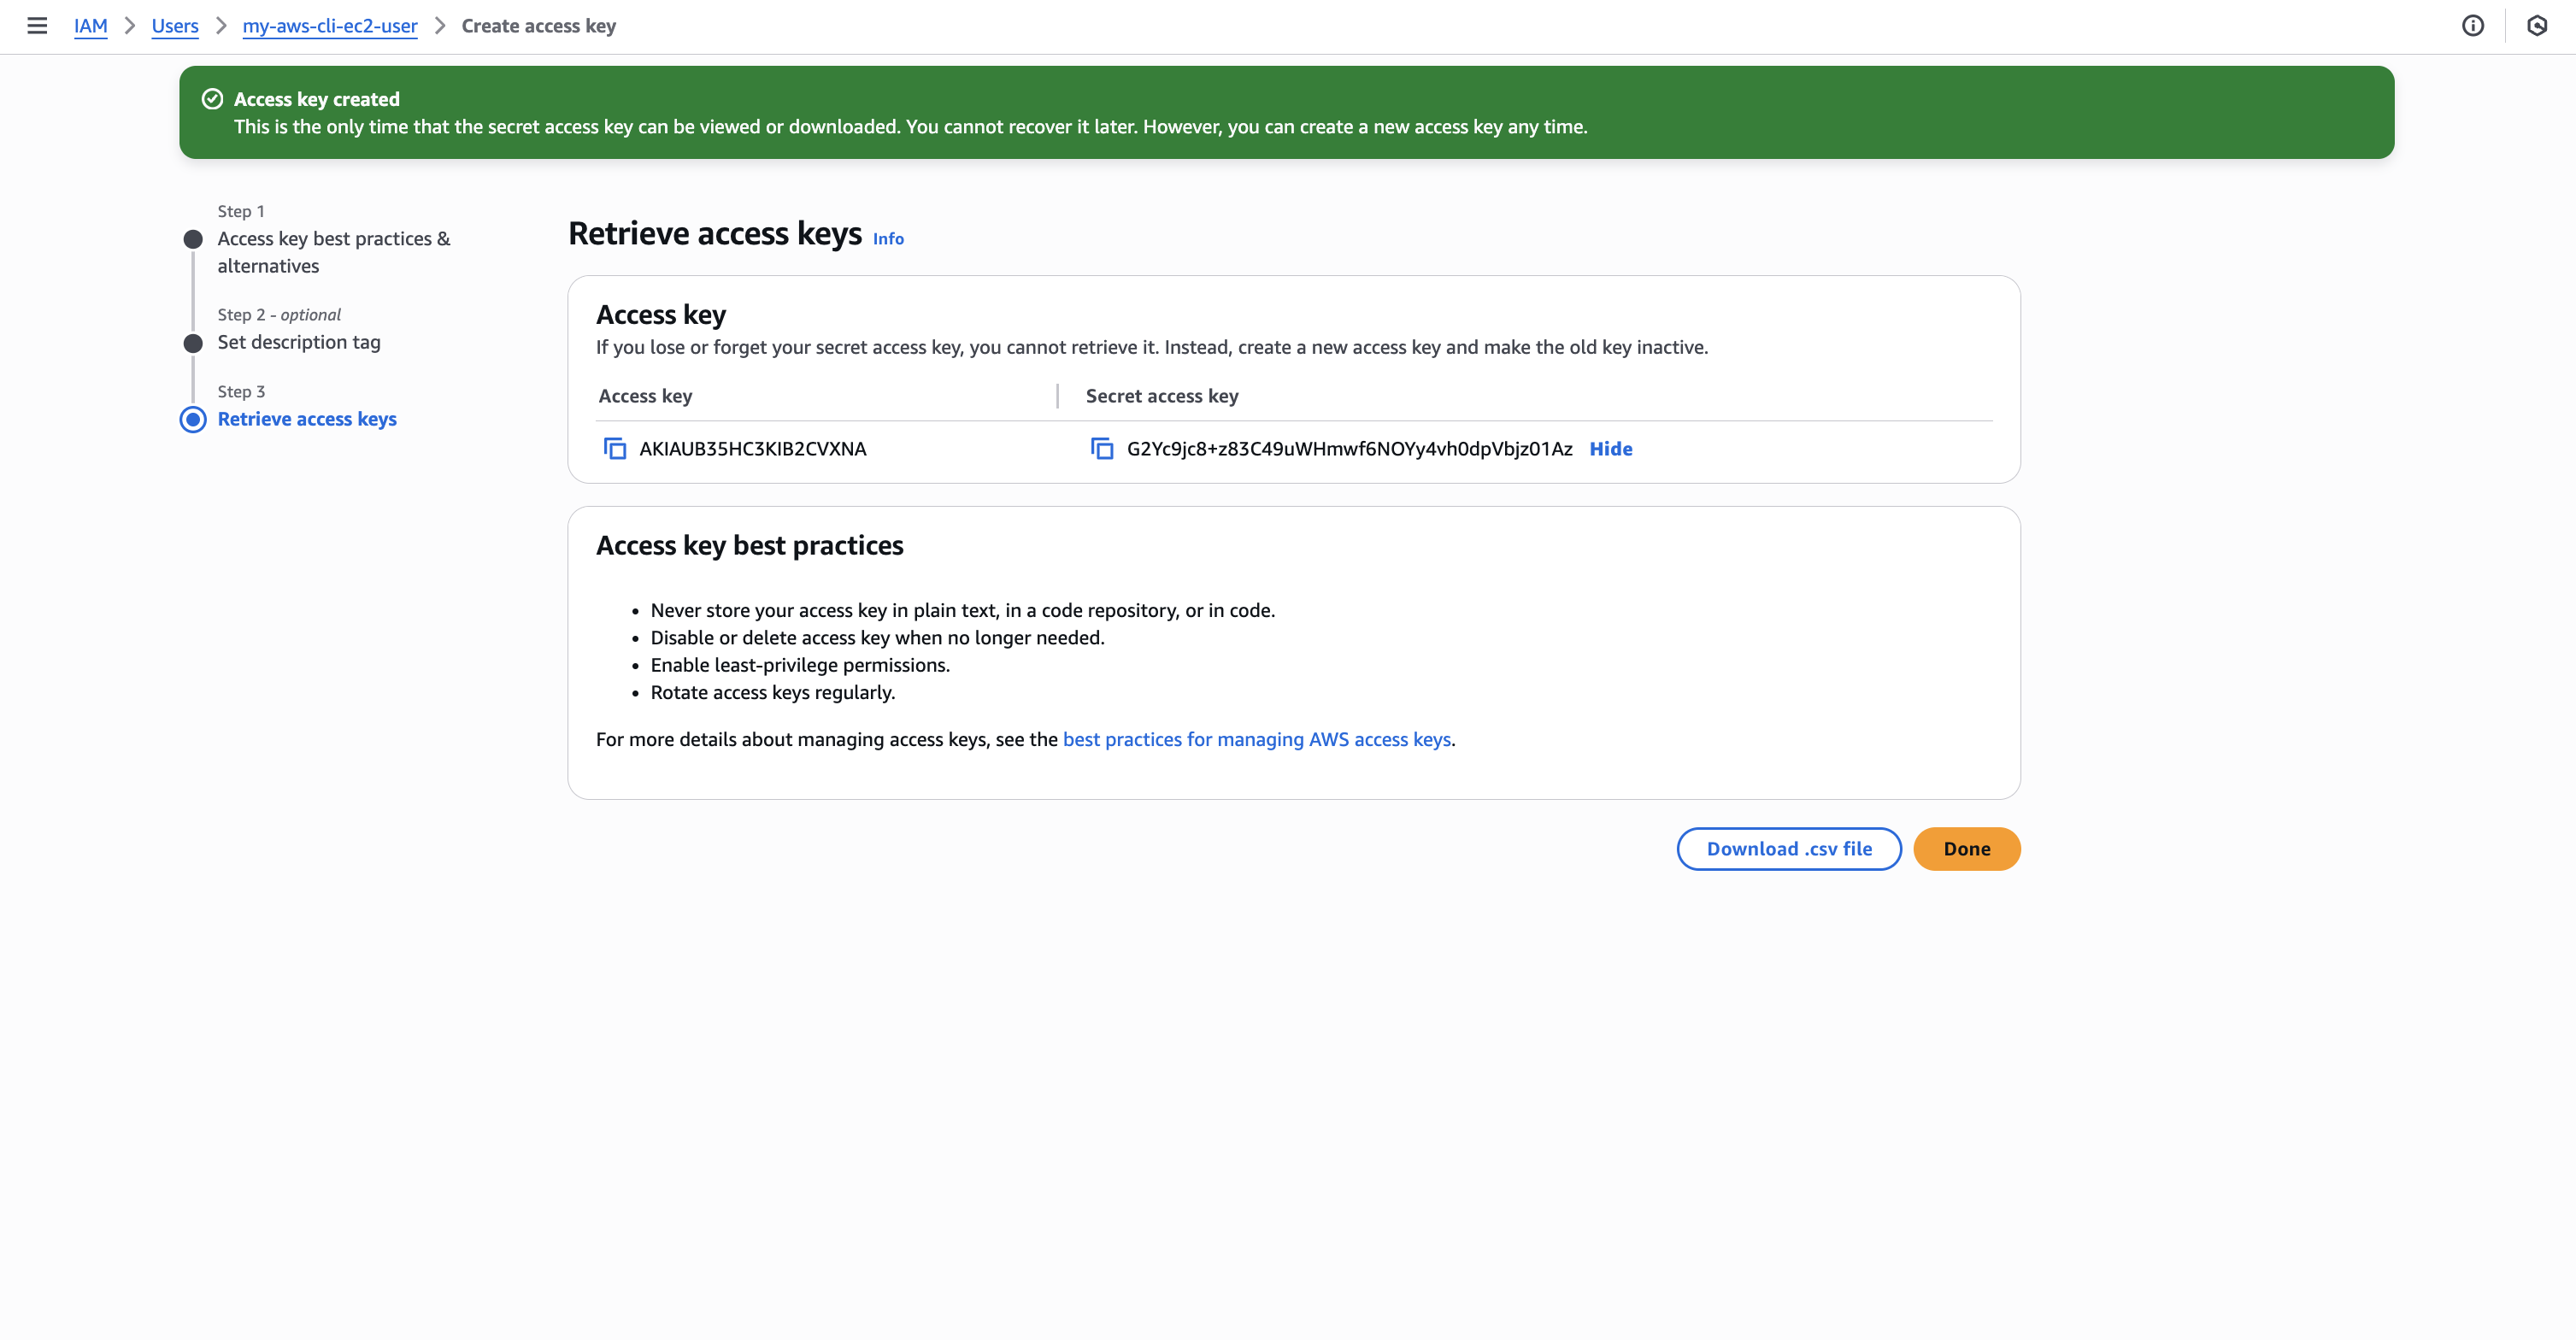
アクセスキーは実際には公開しないように注意してください。上記で表示しているアクセスキーはすでに無効化・削除しています。
AWS CLI にアクセスキーを設定します。
aws configure

> AWS Access Key ID: アクセスキーの ID を入力
> AWS Secret Access Key: アクセスキーのシークレットを入力
> Default region name:(そのままエンターで OK)
> Default output format:(そのままエンターで OK)
ここまでで AWS の準備ができました。
Terraform 定義作成にとりかかります。次のようにディレクトリとファイルを作成します。
my_aws_terraform/
└ ec2.tf
ec2.tf
provider "aws" {
    region = "ap-northeast-1"
}

resource "aws_vpc" "this" {
    cidr_block           = "10.0.0.0/16"
}

resource "aws_subnet" "this" {
    vpc_id                  = aws_vpc.this.id
    cidr_block              = "10.0.1.0/24"
    availability_zone       = "ap-northeast-1a"
}

resource "aws_security_group" "this" {
    vpc_id = aws_vpc.this.id
}

resource "aws_instance" "this" {
    ami                         = "ami-07faa35bbd2230d90"
    instance_type               = "t3.micro"
    subnet_id                   = aws_subnet.this.id
    vpc_security_group_ids      = [aws_security_group.this.id]
}
init、plan、apply を実行します。
terraform init
terraform plan
terraform apply
AWS コンソールで VPC や EC2 が作成されていることを確認しましょう。
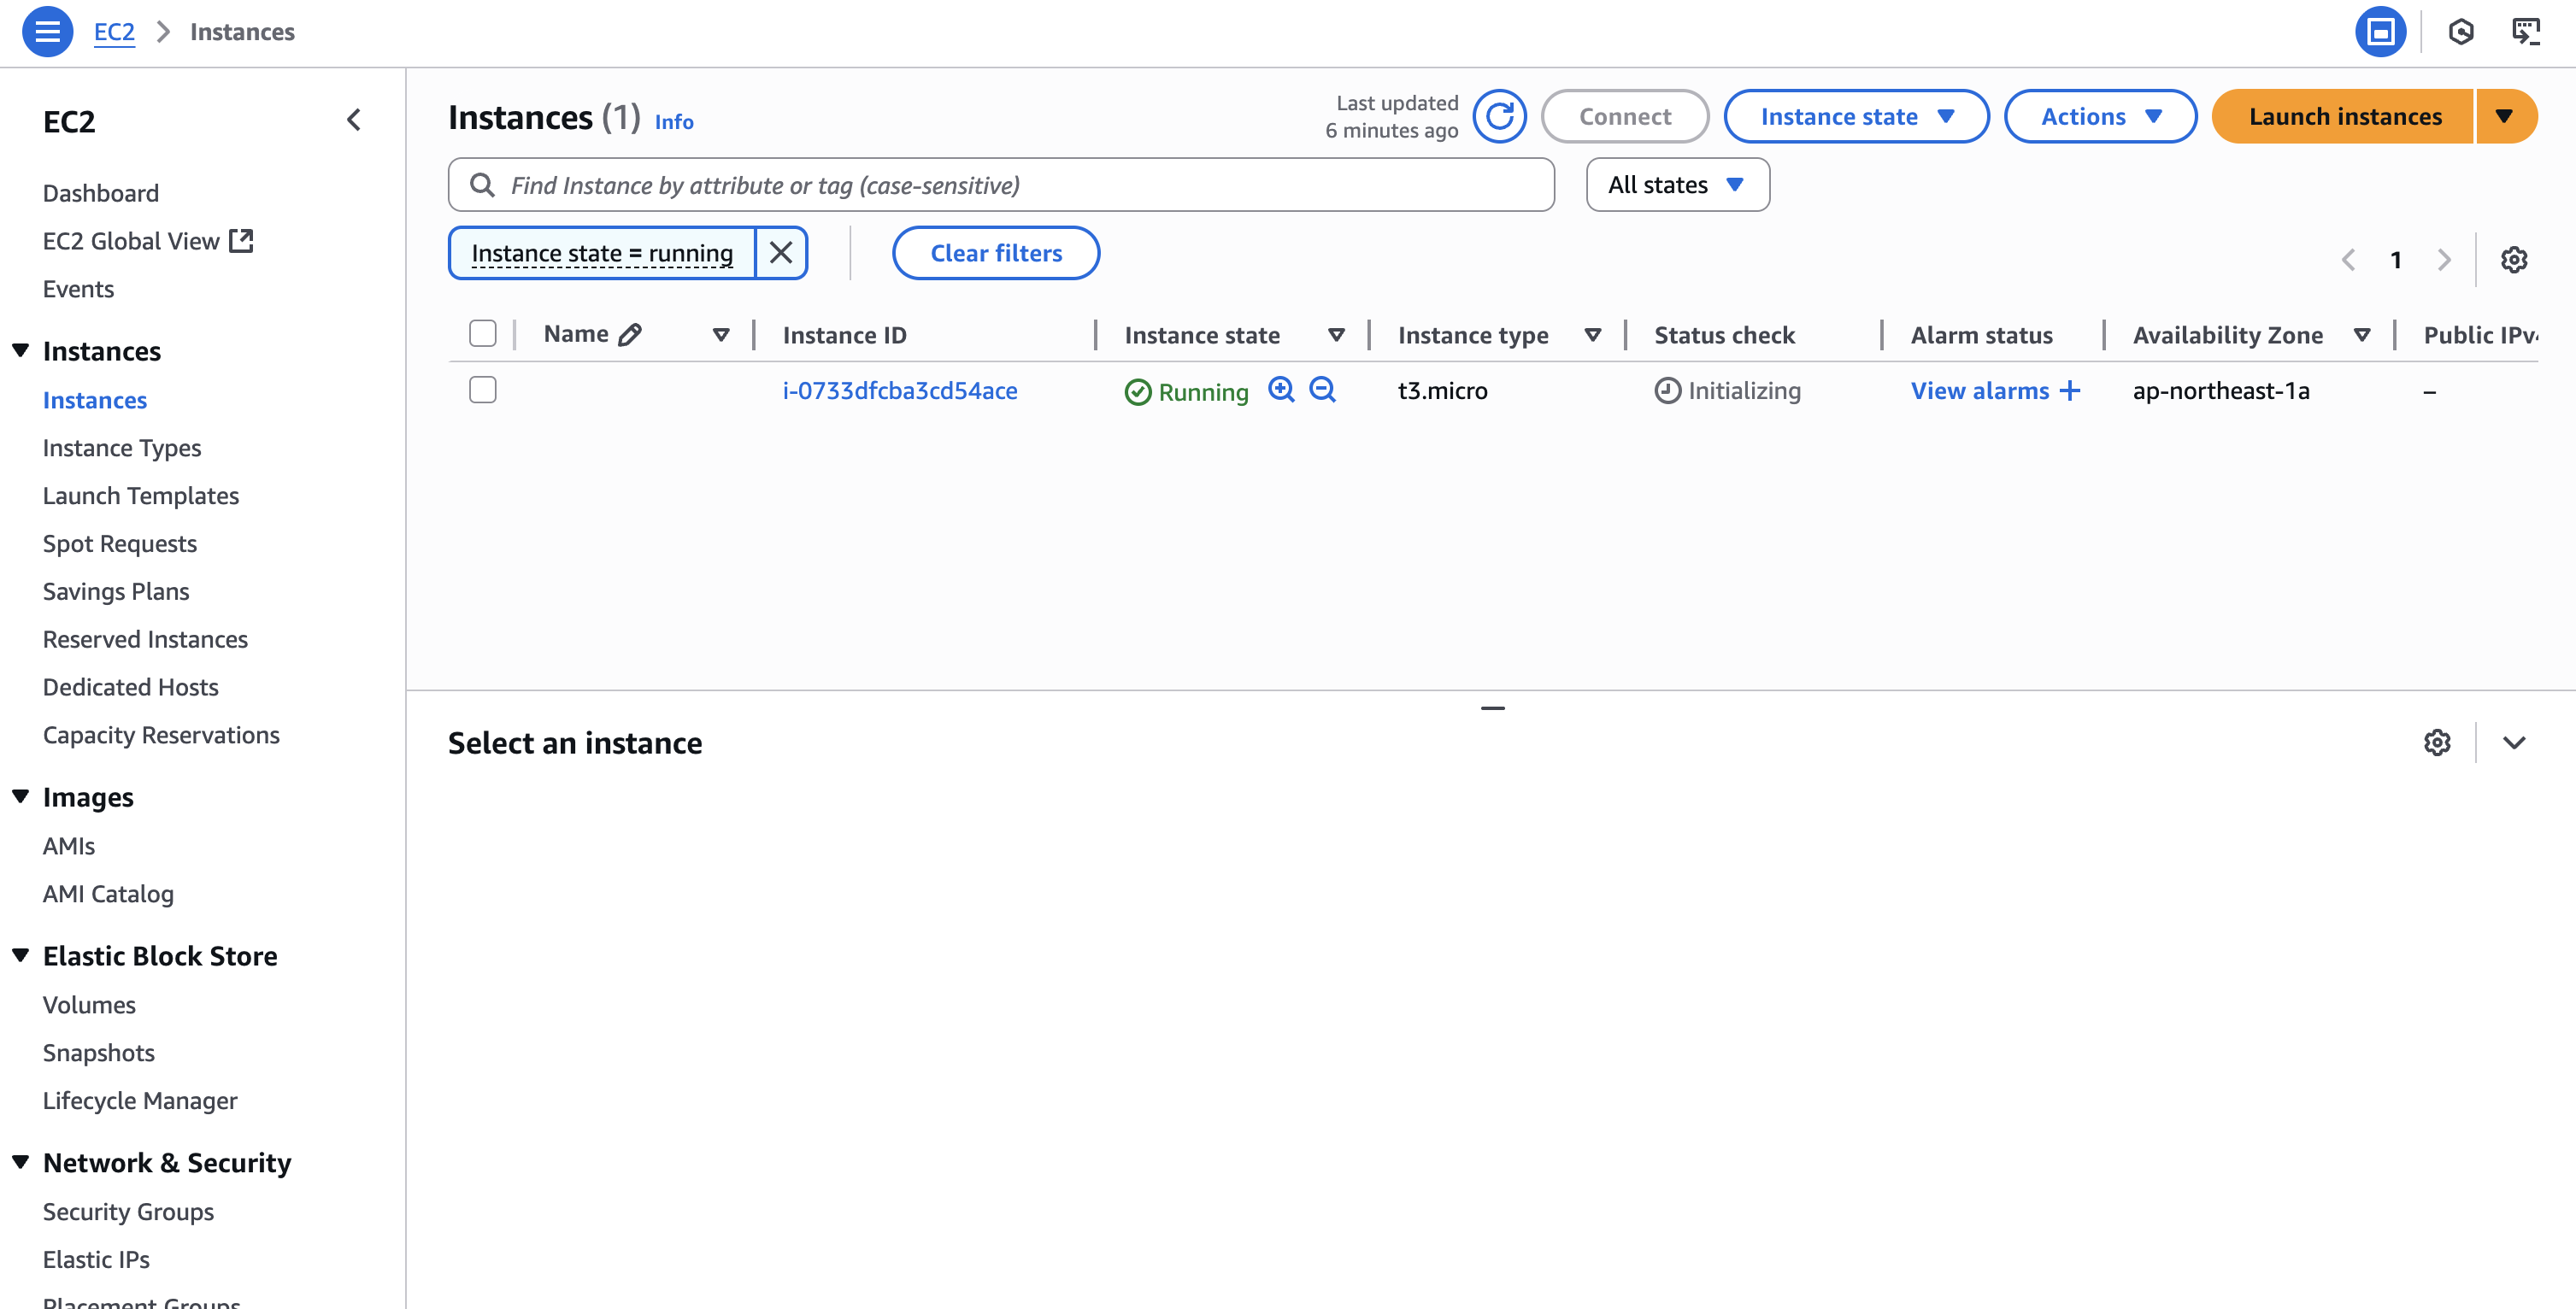
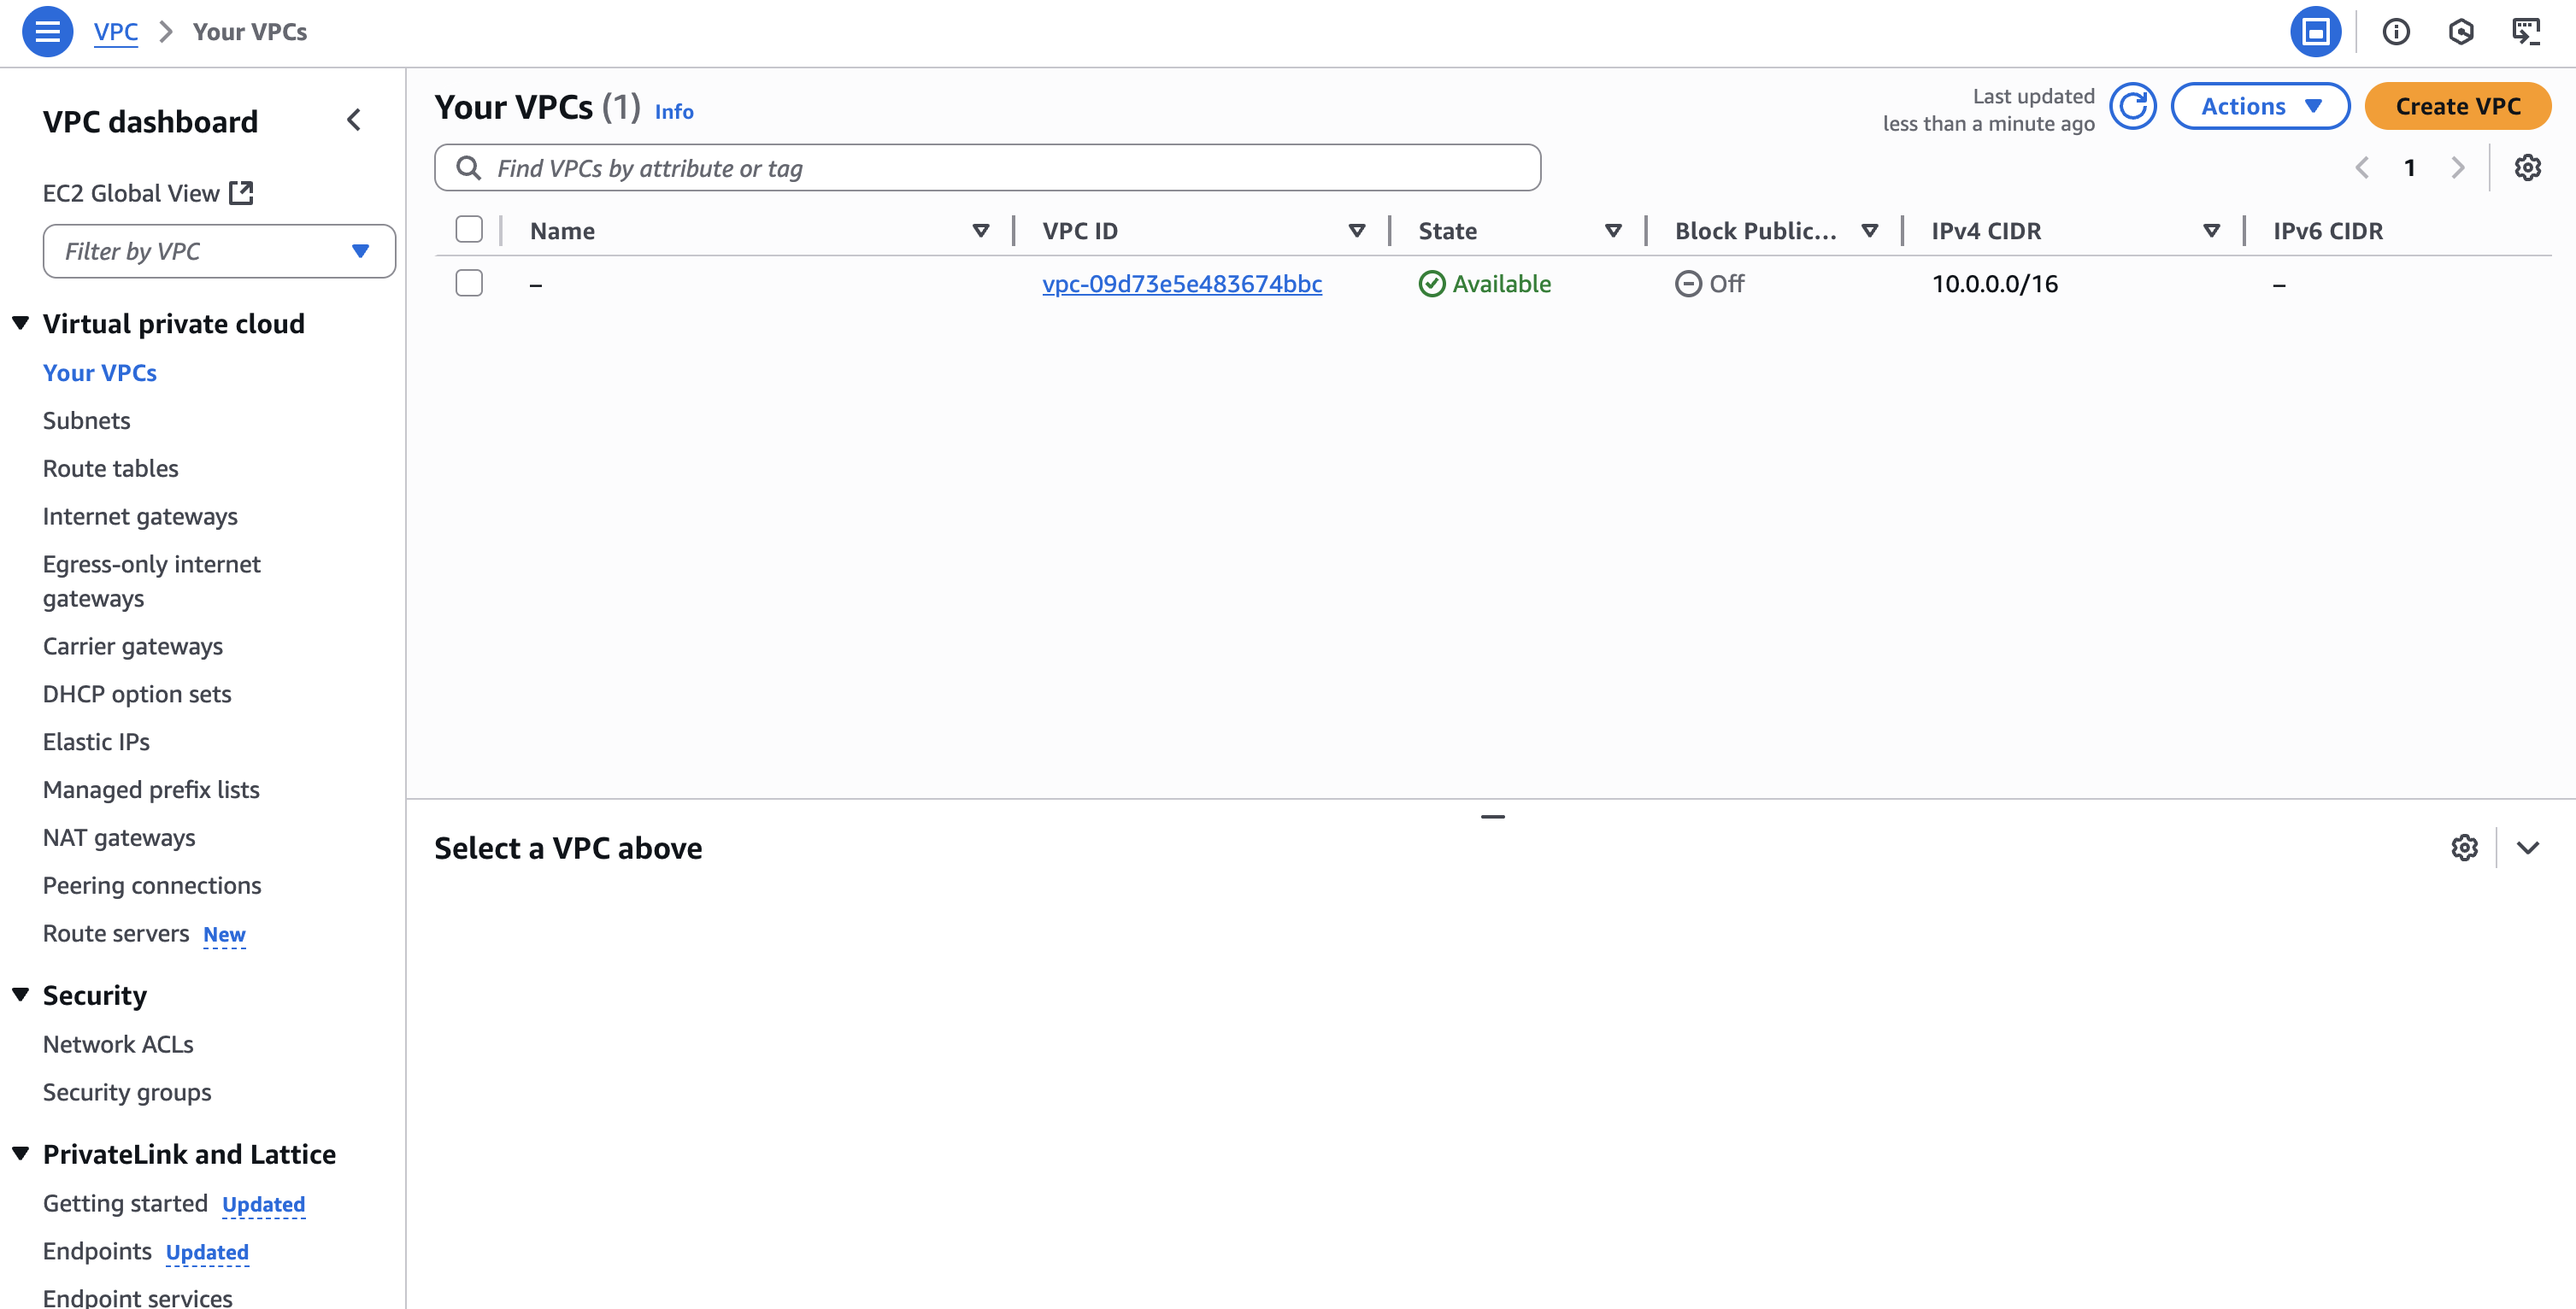
これで Terraform を使って AWS に EC2 インスタンスを作成することができました。
お片付けをします。destroy を実行すると、Terraform が管理しているリソースをすべて削除します。
terraform destroy
その後、AWS コンソールで VPC や EC2 インスタンスが削除されていることを確認しましょう。
補足 #
Terraform 定義の内容を振り返ります。
provider "aws" {
    region = "ap-northeast-1"
}

resource "aws_vpc" "this" {
    cidr_block           = "10.0.0.0/16"
}

resource "aws_subnet" "this" {
    vpc_id                  = aws_vpc.this.id
    cidr_block              = "10.0.1.0/24"
    availability_zone       = "ap-northeast-1a"
}

resource "aws_security_group" "this" {
    vpc_id = aws_vpc.this.id
}

resource "aws_instance" "this" {
    ami                         = "ami-07faa35bbd2230d90"
    instance_type               = "t3.micro"
    subnet_id                   = aws_subnet.this.id
    vpc_security_group_ids      = [aws_security_group.this.id]
}
providerブロックでは、特定のプロバイダの設定を行うことができます。今回はawsプロバイダに対し、リージョンap-northeast-1を使用することを指定しています。aws_vpc、aws_subnet、aws_security_group、aws_instanceはそれぞれ AWS の VPC、サブネット、セキュリティグループ、EC2 インスタンスを作成するためのリソースです。- EC2 はサブネットに所属し、サブネットは VPC に所属します。また、EC2 はセキュリティグループを持ちます。そのため、EC2 を作成するためには、VPC、サブネット、セキュリティグループを先に作成しておく必要があるため同時に定義しています。
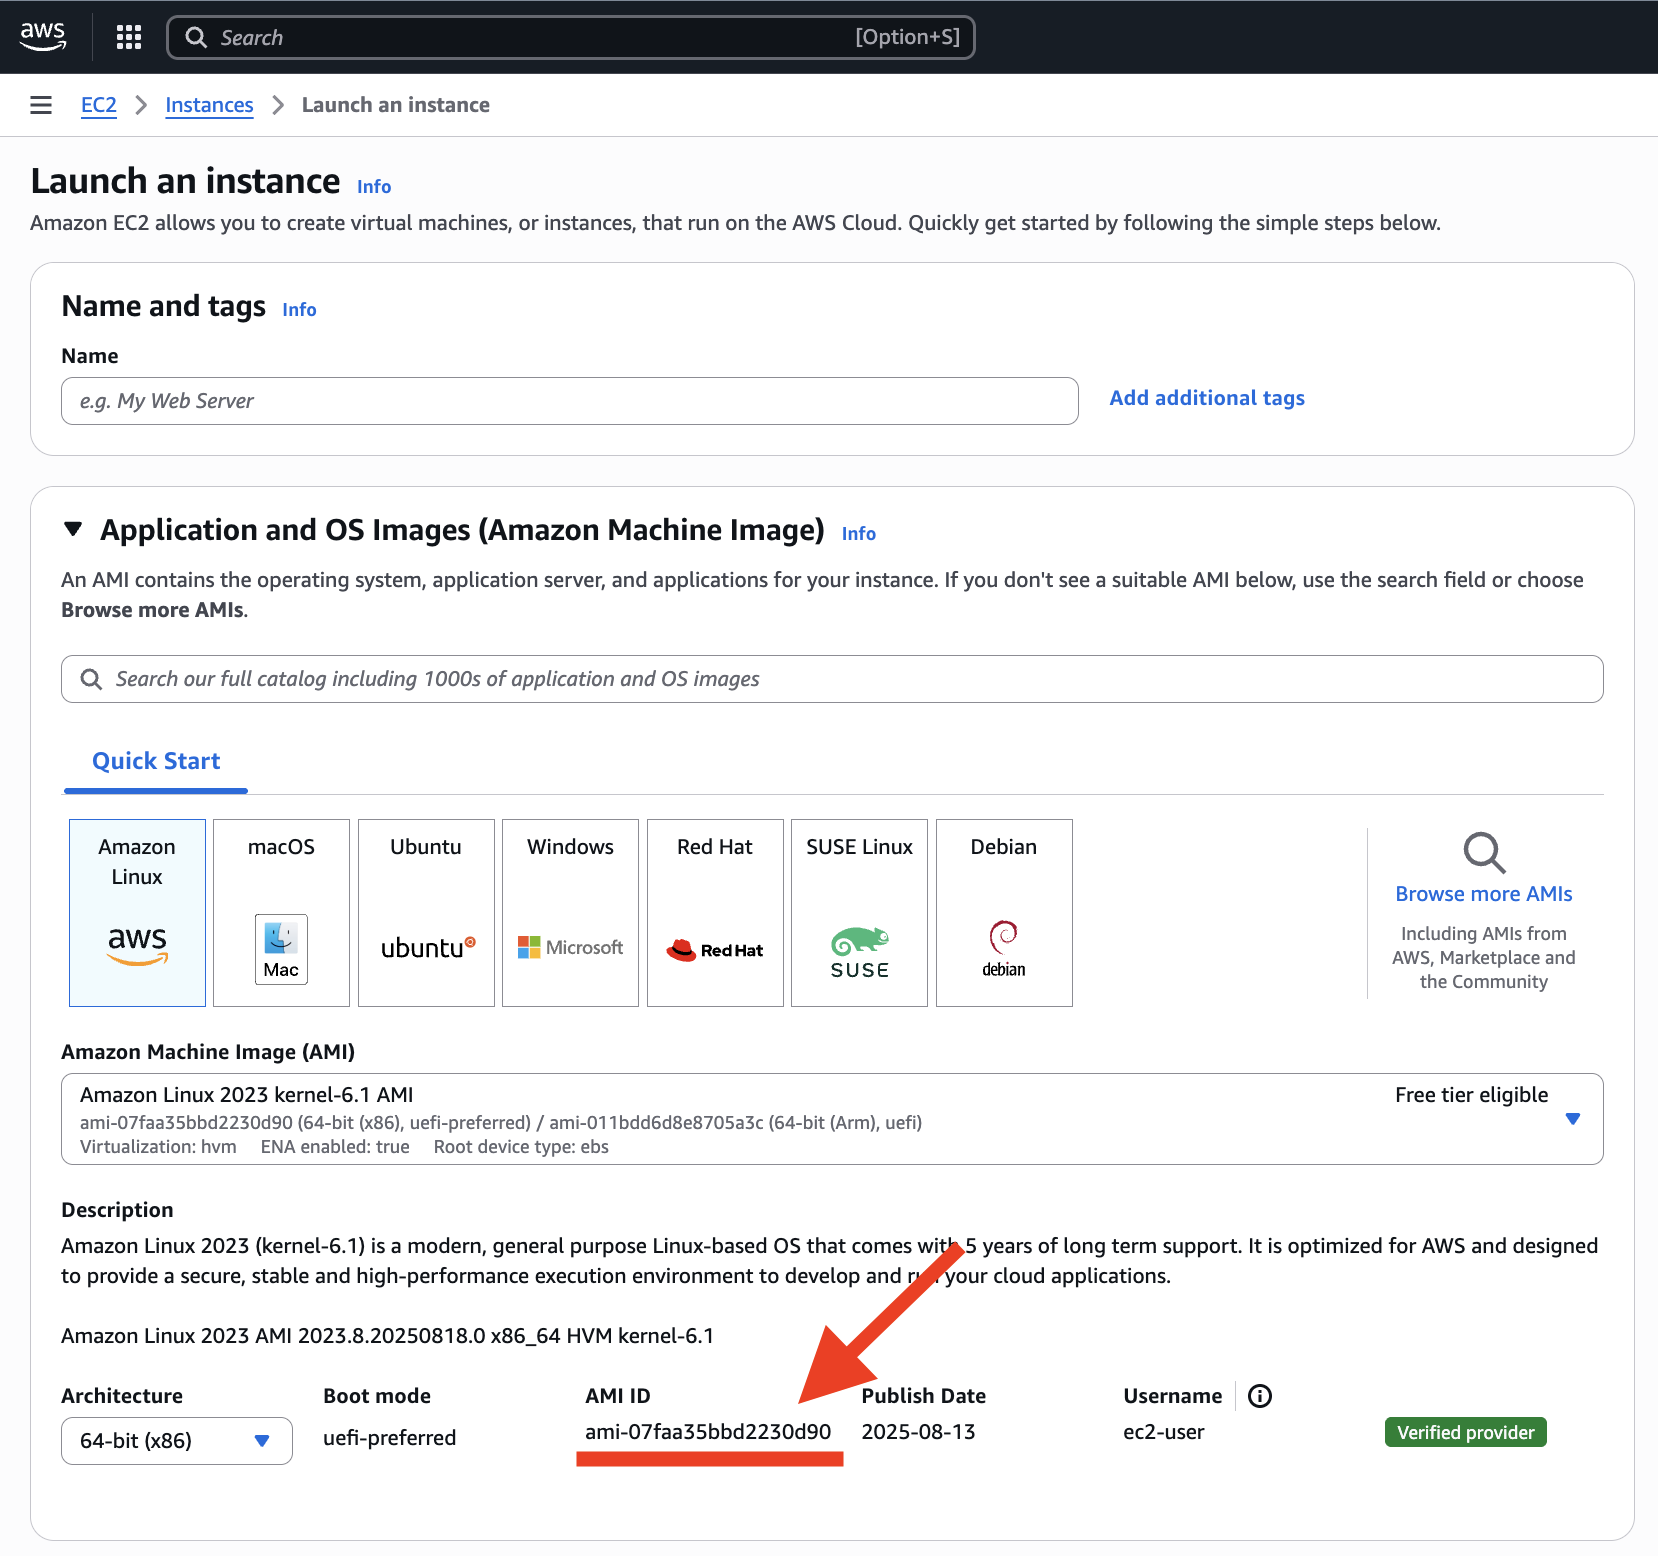
aws_instanceのamiには、Amazon Linux 2 の AMI ID を指定しています。AMI ID はリージョンごとに異なるため、他のリージョンで実行する場合は適切な AMI ID に変更してください。AMI ID は 以下の通り AWS コンソールの EC2 インスタンス作成画面で確認できます。
4. State を S3 に保存する #
terraform apply を実行すると生成されている terraform.tfstate ファイル、これを指して State と呼びます。State は非常に重要で、State が失われると Terraform はリソースを正しく管理できなくなります。そのため、個人開発であっても State はリモート環境に保存しておくことが推奨されます。チーム開発であれば State を共有する必要があるためなおさらです。
まずは S3 にバケットを作成しましょう。このバケットの作成は Terraform を使わず(Terraform の管理対象とせず)、AWS コンソールで手動で作成することが推奨されています。
次に AWS CLI のアクセスキーを発行した IAM ユーザに対し、S3 への権限をつけます。たとえば AmazonS3FullAccess を付与します。(実際には最小限の権限に絞りましょう。)
そして、Terraform 定義に backend ブロックを追加します。「“Hello World” をコンソールに出力する」で利用した定義をベースに変更すると次のとおりです。bucket や region は自分が作成した S3 バケットの情報にあわせます。
terraform {
  backend "s3" {
    bucket = "my-awesome-terraform-state-bucket"
    region = "ap-northeast-1"
    key    = "terraform.tfstate"
  }
}

resource "terraform_data" "this" {
  provisioner "local-exec" {
    command = "echo 'Hello World'"
  }
}
この状態で terraform apply すると、State がローカルの terraform.tfstate ではなく、S3 バケットに保存されていることがわかります。
補足 #
以下の点で疑問を持つ方もいると思います。このあたりはインターネットで調べれば情報が見つかるのでここでの説明は省略します。
- State を GitHub で管理せずに、S3 バケットなどで管理するのはなぜか?
- State を保存する S3 バケットを Terraform ではなく手動で作成するのはなぜか?